Tuesday, October 11, 2016

Creating fun ornaments

Hi Everyone it's Teresa here today to share with you a quick and easy ornament i made with the new Noel die cut die.  There is so many fun things starting to go out for the holidays and last time i went out browsing i found these really cute wooden ornaments in a pack of 6 so i thought i would get out a few dies and see what i could come up with.


The ornament is made of wood so i traced the size on a piece of paper and then set to work to cut strips of pretty paper to cover it.  When i got it all done i glued it to the back of the ornament and then inked it with a pretty brown chalk ink.  Then i found this Santa in the papers so i fussy cut that and a bit of the greenery and glued all that down.  Then I cut the Noel die 2x out of matching white paper and glued that on the ornament as shown. It took a bit of time but it's fun to make custom ornaments for your tree and even to give as gifts to family throughout the years.  

There are lots of beautiful dies you can use here.....  you can never start too early!!

Happy Tuesday everyone !!


Monday, October 10, 2016

Dec.25 Gingerbread card

So how many Christmas cards have you had made by now?  It's slow going for me but slow and steady is the way to do it right?  I'm already in the mood for some cookies after this card though.  

The base of this card is 5x7 and I layered it with some green plaid and red paper.  The gingerbread men are Elizabeth Craft Desings dies were cut out of some light tan card stock and then sponged to give it a nice baked look.  I placed them on top of some inlaid die cuts made with ECD's Beaded Circle Frames.


I then added this beauty to announce Christmas:  Dec 25 die from Quietfire Design.  I added a black die cut to give it some depth and so that it would pop a bit.


I hope you have a great time making Christmas cards!


Friday, October 7, 2016

World Card Making Day Blog Hop Winners


Congratulations to all the winners of our World Card-Making Day Blog Hop!
Here is the list!
Thanks to everyone who has contacted me already (the names were sent out in a newsletter earlier this week).  We just need one more person to send me their snail mail address and then I can send out the prizes!  Thanks and happy creating!
 
winner: 
Hartl
I can't believe you made all of these with supplies that were already part of your stash. The sentiments are wonderful
 
winner:  
D.Ann C
What gorgeous flowers and fabulous sentiment on your delightful card!

 
winner:
Lori Kobular
Yogi  http://yogiemp.blogspot.ca/
winner:C. M. TaylorYogi....... what a fabulous card! You did great with the creative license and I love the mixed textures, colors and the quilling! Over the top!
Suzanne  http://quietfirestyle.blogspot.ca/
winner:
Sarah Biswabic  Your autumn card is so beautiful! I love all the embellishments and colors you used on your card.
 
winner:
Grannie Rmee
 What a beautiful, peaceful card!
 
winner:
Karen (TLgirl353)
White and gold makes for such a classy card, Selma!
 

We hope you enjoyed our blog hop!
Thanks for all your wonderful comments.  It warms our creative hearts!

Thursday, October 6, 2016

Autumn is a Second Spring


Autumn is such a beautiful time of year.  This is Selma today with an Autumn card using Suzanne's Autumn is a Second Spring rubber stamp.

Autumn is a Second Spring - Mounted

The sentiment was stamped on a piece of tan card stock.  The card stock was die cut to fit behind Susan's die cut Garden Notes Round Grapevine Wreath.  This was centered on the card front.

To add fall colors, flowers were created using Susan's Garden Notes Chrysanthemum, and Sunflower dies; Susan's Garden Woodland Leaves dies, plus Els van de Burgt Studio Pumpkin and Berry Branch die sets. 

 A piece of gunny sack trim was added at the bottom of the wreath and all die cuts arranged around the wreath.  For extra dimension to the Berry Branch, I added dots of Love Letter, irRESISTible Pico Embellisher, by Imagine Crafts.  The leaves were colored using Viva 3D-Stempel-Farbe Stamp Paint.  To complete the card, a small bow was added to the top of the wreath.


Die sets from Elizabeth Craft Designs include:  Garden Notes Round Grapevine, Garden Notes Chrysanthemum, Garden Notes Sunflower, Susan's Garden Woodland Leaves, Els van de Burgt Studio Pumpkin and  Berry Branch.

Wednesday, October 5, 2016

A Way With Words: Merry Christmas!


Hello everyone,
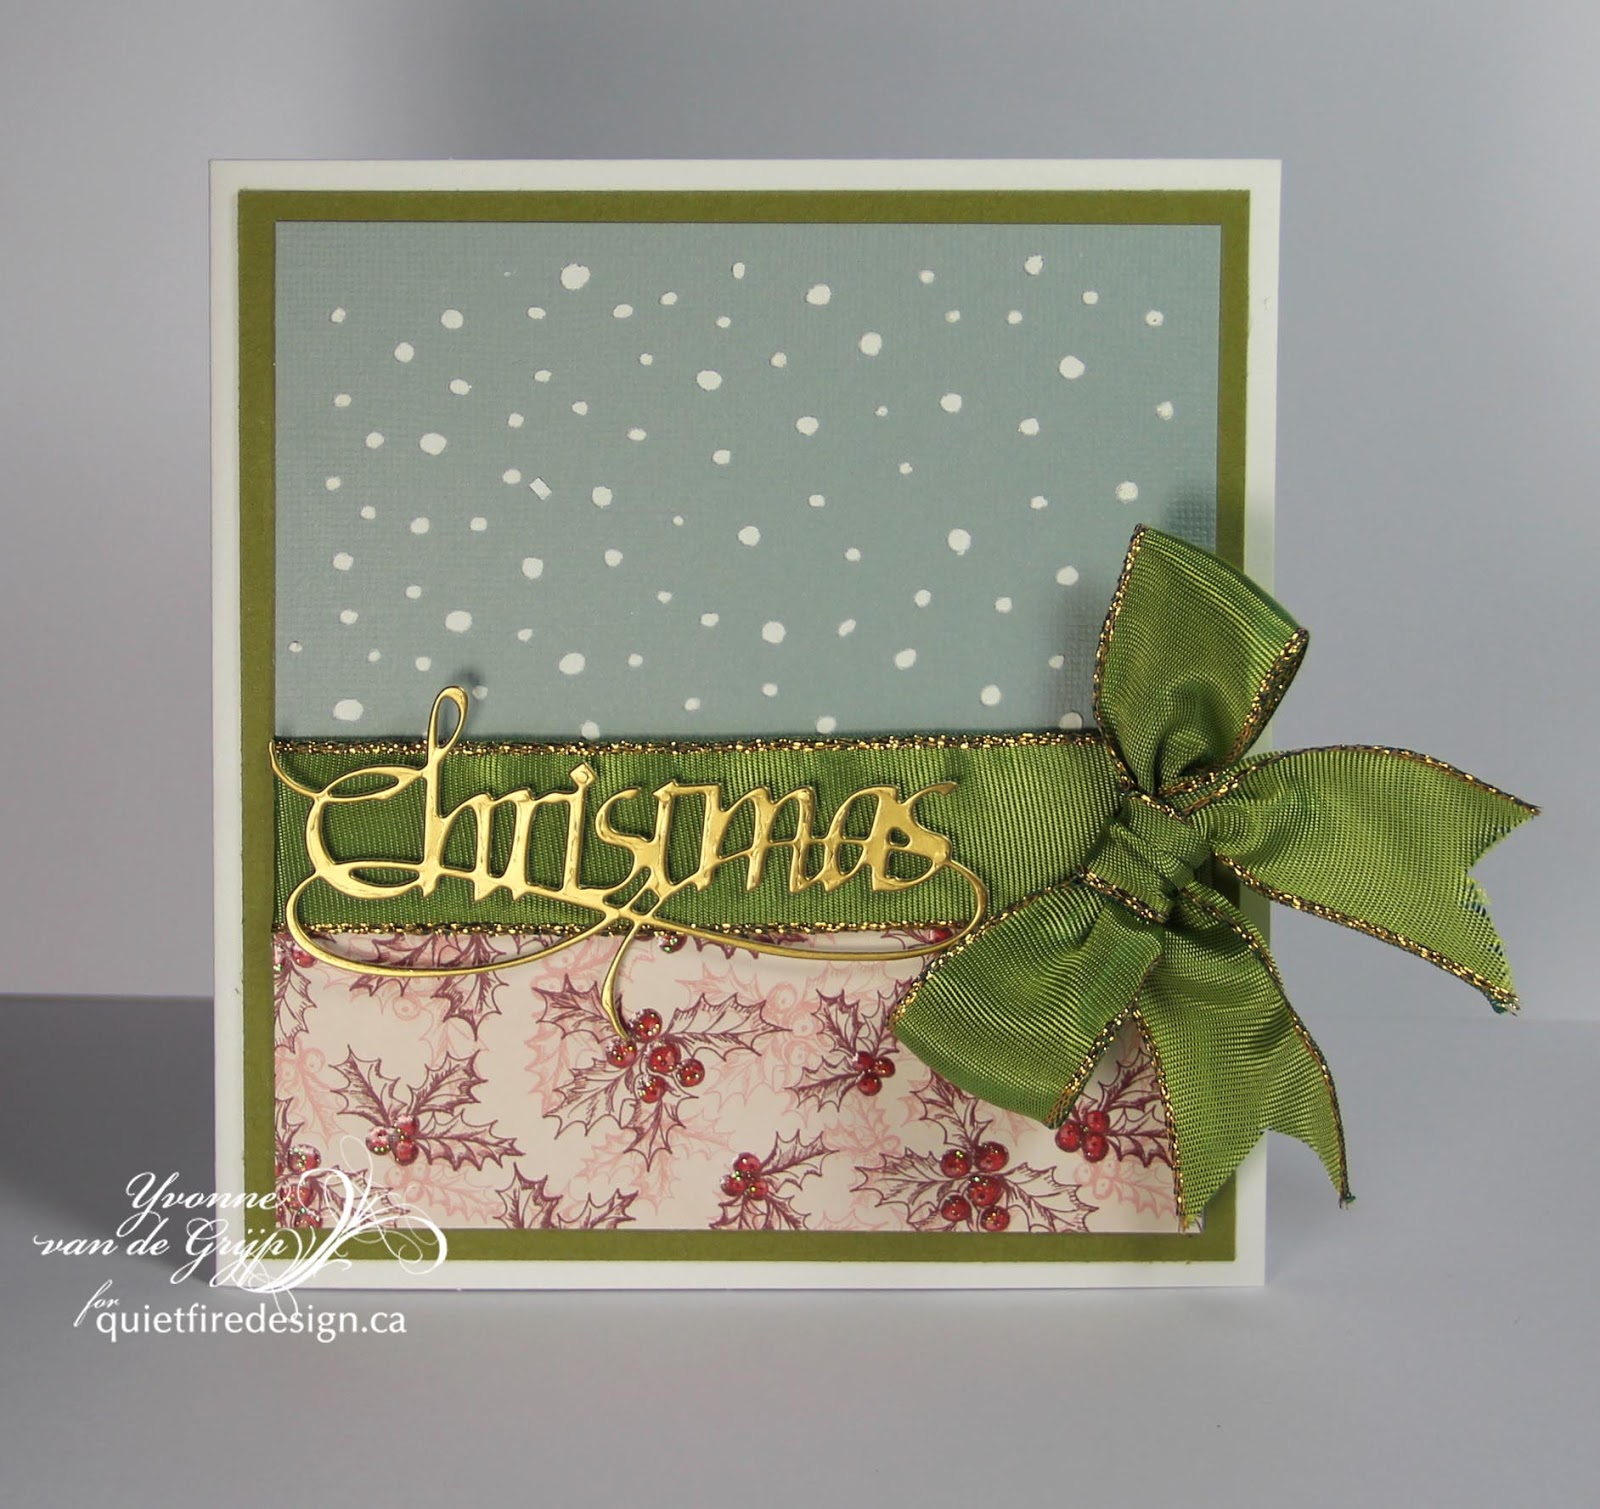
Yvonne here sharing a Christmas card using a "A Way With Words" cutting die by Quietfire Design/ECD.
The cutting dies set I used is called "Merry Christmas 2". The set is two words: Merry and Christmas.
For my card I only used one of the two dies.


Used materials:

Thanks for stopping by and wishi ng you happy crafting!

Hugs form Holland,
Yvonne

Tuesday, October 4, 2016

Peace die - When This Christmas - easel card


Yogi here today with an easel card and a watercolored stamped image using my Misti...

I'm using an A Way With Words die from Elizabeth Craft Designs "Peace"  also available on Quietfire Design HERE
I'm using a  quote  stamp  from Quietfire Design  

Scored, die cut (Spellbinders Grand Labels 23) and folded my dark blue Bazzill Monochromatic card to create the easel. Die cut another piece for my front. To create the easel: I folded my cardstock in half and then die cut both layers together in an "Off the Edge" technique to avoid cutting the half's apart.

I used my Misti tool, inked the Penny Black "Berry Kissed" stamp with various Distress mini pads in appropriate colors on 90# Arches HP watercolor paper. Spread the inks around with a paint brush and water adding more color where needed. Added some background color, wet on wet technique. Die cut with the next size of Grand Labels 23. Sponged the edges with a dirty blue sponge. Added Glossy Accents to the berries.

Ran the Stormy Pad over my bluish die cut word "Peace" (
"Peace"  also available on Quietfire Design HERE). Applied Versamark and clear embossed.

Tied some brown/white butcher twine around the upper right edge and tied a bow. Adhered to front.

On the floor:

Die cut another white layer, sponging the edges with the blue and adhering to floor.

Stamped the quote (
"When This Christmas...") on white cardstock inking with Versafine "Satin Red" all over and hitting here and there with "Blue Lagoon". Clear embossed. Die cut with the largest of Labels 23. Sponged stormy sky around the edges. Added a crease/fold in the upper area to act as my stopper.

Created a silhouette image of my holly stamp Sheena Douglas "Holly",  electronically cut it from white cardstock (just fussy cut around your stamped image if you don't have an electronic cutter...), then inked my stamp with green, red and brown, stamped then clear embossed. Used the same colors of Distress pads and painted it in. Cut it apart where needed and adhere to both sides.


Saturday, October 1, 2016

World Card-Making Day Blog Hop! October 1, 2016

Welcome to our World Card-Making Day Blog Hop!


We've made some cards and assembled some cool projects to share with you - and there are some prizes to be had!  Hop on over to each of the designers listed below and leave a sweet comment on their World Card-Making Day blog post. I know you'll see some beautiful and inspiring artwork.  And you'll be all set to make your own creations!

To be eligible to win a prize, you must leave your comment on the blogs before midnight on Sunday October 2, 2016.  Prizes will be announced shortly afterwards.
Here is where you will visit this weekend!
 
Selma http://selmasstampingcorner.blogspot.ca/
Robyn http://rainbowweaves.blogspot.ca/
Diana http://yourstrulybydiana.blogspot.ca/
Yogi http://yogiemp.blogspot.ca/
Kathy Jo http://daisysanddaffodils.blogspot.ca/
Teresa http://victorianpaperqueen.blogspot.ca/
Suzanne http://quietfirestyle.blogspot.ca/

Happy Hopping!  Good luck!

Thursday, September 29, 2016

"Autumn is a second spring..." card with fall background technique

Hello Crafty Friends!  Kathy Jo here sharing a colorful autumn card using one of Quietfire Design's new stamps "Autumn is a second spring":
Autumn is a Second Spring - Mounted
Yes, fall is starting here in Nova Scotia and I can't help but think of this quote as I walk through the woods.  Many of the trees are starting to change color and I often stop to admire the beautiful leaves on display.  Such a lovely time of year!
For my card I wanted to capture some of those bright autumn colors.  First I sprayed mixed media paper with Dylusions sprays in Postbox Red, Pure Sunshine, Squeezed Orange and Lemon Zest.  After drying I dry embossed the paper with Darice's leaf flourish embossing folder.  Using a brayer, I applied Versamark to the raised background and heat embossed with clear glitter embossing powder.  In the closeup below you can see the shimmer of the embossed area:
The paper was die cut using Elizabeth Craft Designs' Stitched Rectangles die and mounted on turquoise card stock.  The card stock was also die cut using Cheery Lynn's valence die and mounted as shown.  Yellow card stock was stamped using the Quietfire Design stamp in Archival Ink (Jet Black).  It was die cut using Elizabeth Craft Designs' Stitched Circle die and then foam mounted.  The finishing touch was 6 wee matching gems.
Thanks so much for stopping by!  I do hope you enjoyed the bright, autumn card!
Have a happy, crafty day!
Big hugs,
Kathy Jo


Wednesday, September 28, 2016

Autumn Memories Scrapbook Layout

Hello, Connie Nichol here today with an autumn themed scrapbook layout featuring two of the Way with Words dies and a beautiful stamp about raising our children from Quietfire Design.


The photos in this layout are of my friend Sue and her beautiful daughter from 11 years ago.  We used to take our children on all sorts of little adventures, and although the kids don't remember any of them now, the stamped quote is totally true.  All the things we do with and for our kids add up to help shape who they become.   Go make some memories with your family.   And takes lots of pictures!

The Autumn die is from the 4 seasons set.  This is a very versatile set for scrapbook layouts and combines easily with other Way with Words dies such as Memories to make a beautiful page title

4 Seasons, Set of 4 - Metal Cutting Dies Memories - Metal Cutting Die You May Not Be Able to Leave Your Children


Supplies Used:  Bo Bunny patterned paper and die cuts, Stampin Up cardstock and banner edge punch, Clearsnap Ink, Quietfire Design stamp, Elizabeth Craft Designs dies, Scrapbook Adhesive by 3L foam adhesive, Brother sewing machine, May Arts ribbon.

Monday, September 26, 2016

Happy Birthday to you!!

I don't know about everyone else but I always seem to need Birthday cards and bags for my friends and family so what better die to share today than the new Happy Birthday die set.  I grabbed some fun papers and goodies out of my stash for this one and set to work to make something fun and bright to give some pretty things and a gift card i bought for my friends birthday this week.


To start my project i measured the front of my little white bag and cut a smaller mat in turquoise
paper.  Then i cut another piece of printed flower paper just a bit smaller and glued all of it to the front of the bag to dry.  For the Happy Birthday medallion i cut the letters in white card stock and set them aside and then cut 2 circles using a metal die.  One in white vellum and the other in the same turquoise that i did the first mat in.  I glued all of them together with adhesive and then added a few rhinestones, the sentiment and a pretty adhesive flower on the bottom that i had in my stash to match. And finally to finish it i tied some pretty ribbons to the handle on the top and it's ready to stuff with a wonderful gift for my friend.


Here is a closeup so that you can see the die better.  I really love the swirls on this one and how pretty that they overlap on each other.  And here is the link to the store just in case you need to add this beauty to your shopping list  "Happy Birthday Die".... Have a wonderful and creative day!!

Teresa

Related Posts Plugin for WordPress, Blogger...