Friday, February 27, 2015

Dancing with Fairies

Hi Everyone it's Teresa here on this fabulous friday morning sharing a fun
card that i made with the Leave room in your Garden stamp set.  There is lots
of neat things coming out with little fairies and gardens to make so i did
this one with lots of pretty floral paper and flowers to match.


This is one of my favorite cards by far just because of the super cute
stamp and the colors that i found for it.  The papers are from Basic grey
and from Pine Cone Press and i mixed it white to stamp on and mat
my piece for the backround and the sentiment.


I am currently moving my scrap room and finding lots of fun
things i forgot that i had so this was really fun to mix and match
the different dies and flowers.  I layered 2 dies for the backround
of the sentiment and they are called Blooming collection and Oval Bliss.
They are super intricate and really make the stamp look pretty.


And lastly here is a closeup of the flowers and since it is
a fairy themed card i had to add fairy dust to it to make it perfect.
Actually i used diamond Stickles but that's ok :)

Here is a link and photo of the stamp so that you can see it too.


That's all for today so thank you for taking the time to stop
over and i hope you have a wonderful and crafty day...

Thursday, February 26, 2015

The Weekly Cut- Stamp Storage, Leafy Wedding, Kindness

 Hi Y'all, Robyn here with a plethora of new cutting files!

On the mat.
Shout out to DT sister Bad Sherry for the chickenwire frame suggestion!
That's a lot of wow for an hours work!

There is a lot on this mat!
Ungroup and create without limits!
The Card.
 The entire set, the back of the card with gold and doily accents.
 Favor box plain
 I couldn't decide-two gold hearts?
 or four?
Close up of the place card
 The new mounted Quietfire Design Stamps call for storage solutions!
The stamps come on cards that fit into these boxes that can compliment any studio style!
 Surprisingly strong cut from 80 lb card stock and quick and easy to fold and glue with one glue dot on each side panel.


Stamps not included!
The dividers and labels are!
The stamp organizer large on the mat.

This stamp label is a print and  cut file from another set of organizers

I need one that says stuff!
 Enjoy your celebrations and your organizing!

For back story and RAK please visit my blog RainbowWeaves

Comments and questions welcomed.


Wednesday, February 25, 2015

Some people, like flowers.....


Good morning everyone!
Yvonne here  today with a cute little gift box using Quietfire Design's Garden Delights (set of 8 stamps).

Besides cards I love making little gift boxes to make a present extra special, or...just to keep small precious things, notes and memories in....
A stamped sentiment makes the box just that little extra special and what better way than to use a beautiful sentiment as this one.


For my project I used an eco shape box I had in my stash (size appr. 4"x 4"x 2") with a lid on it.
First I glued little torn pieces of an old book page onto the box using some acrylic paint which I also used for the white wash effect.
Then used an ink blending tool and brown Distress ink to add that brown, worn/old look.
around the circle in the lid some twine was glued.
The sentiment is stamped onto white cardstock and glued under the opening in the lid.
Finish the box of with lots of mullbery flowers, leaves and some tiny wooden spools.
The music notes around the lid is made with washi tape.
The pink border is made using a Spellbinders die template.

Used materials:
 

I hope you like my little box and am looking forward to your comments.

Thanks for stopping by!

Hugs from Holland,
Yvonne

Tuesday, February 24, 2015

Tuesday Winsday - CardMaker Magazine

We've had a little break from Tuesday Winsday, but we're back.  As no doubt you've heard, we have a card on the cover or the current issue!  Our prize this week is a copy of this issue!


Did you know this card is the CardMaker Featured Project this month and complete instructions are online and downloadable here?  You don't even need to buy the magazine!

To enter to win our giveaway, simply follow the instructions in the Rafflecopter entry box below. You can just comment or you can do all the other things to get more "points" or entries.

 Good Luck!

a Rafflecopter giveaway

Monday, February 23, 2015

Slainte My Friend


Yogi here today with a St Patrick's Day easel card... It is around the corner BIG GRIN

All cut from white cardstock... Card closed 6"w x 6"h

I die cut the largest of the Creative Expression (Sue Wilson "Scandinavian Collection - Stockholm") set for the front of the card, sponged through the die using Distress "Scattered Straw". (I used both the scrolled part and the outside edge. Then cut an under layer using just the outside edge die.

For the easel part, I folded my cardstock in half, placed the outside edge die just slightly over the folded edge and die cut, then folded the front half in half to create the easel. Adhered the solid base.

eCut the word "Slainte" at approximately 6" wide. Colored with Distress acrylic daubers "Mustard Seed" while still on the mat. Removed from mat and applied Versamark all over (except the shamrock) and embossed with a yellowish embossing powder "Honey". Applied Quickie Glue pen to the shamrock and sprinkled with Glitter Ritz micro fine glitter "Chartreuse". Cut a bit between some of the letters to allow me to curve the word, and glued it to the front edge, just on the tips of the letters. Adhered the scrolled piece.

eCut the "Shamrock Flourish" in 2 sizes - 1 at approx 2." and 1 at 4". While on the mat, swished a "Mowed Lawn" acrylic dauber over the flourishes leaving streaks - almost like a dry brush technique. Removed from mat and adhered the larger one to the front of the card. Masked off the quote stamp ("This is my Beloved") with a piece of tape to leave only the "my friend" for inking with Versafine Black Onyx. Removed the tape and stamped, then clear embossed.

Die cut some roses (Marianne Creatables) from textured heavy weight stationary paper, swished the mustard seed dauber over the die cut, working from the center out to the edges to give a streaky effect. Then very lightly went over it with "Rusty Hinge". Coiled them and adhered them to my card front.

Tied a multi loop fork type bow from green narrow ribbon. Adhered with a glue gun. As a final touch on the front, added one of my little yellow quilled lady bugs.

Die cut another solid piece for the floor. Inked up a Hero Arts "Bead Background" stamp with Scattered Straw, misted with water and stamped. Dried. Used the eraser part of a pencil, inked with Mustard Seed and stamped on each of the beads (they're diamond shaped and I wanted circles...), then embossed with the Honey. (see detail pic below). Adhered to floor.

Die cut the 2 small solid pieces, sponged the larger one with the Mustard Seed. The smaller one I used the Mowed Lawn dauber, streaking the surface through the die. Removed from dies and adhered together. Stamped the sentiment with the black and clear embossed. Cut off the shamrock from the smaller flourish I cut above, applied glue and sprinkled with the Chartreuse glitter. Adhered to flourish end of sentiment.

Used 3D foam tape (a double layer) , positioned it on the floor and then fussy cut a little notch for the front to fit in to use as a stopper. Adhered the die cuts.

As a final touch added some light green rhinestones to some of the dots.

Saturday, February 21, 2015

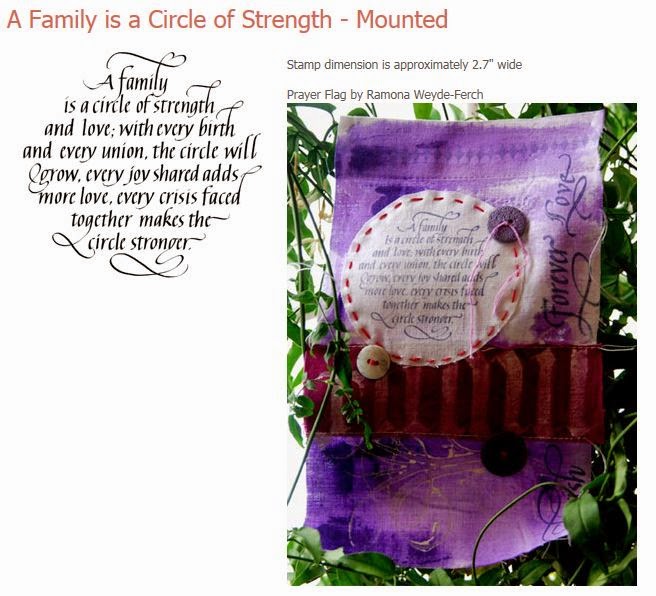
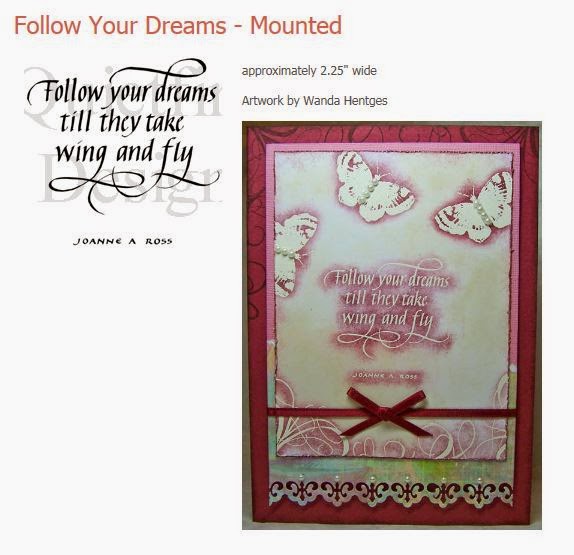
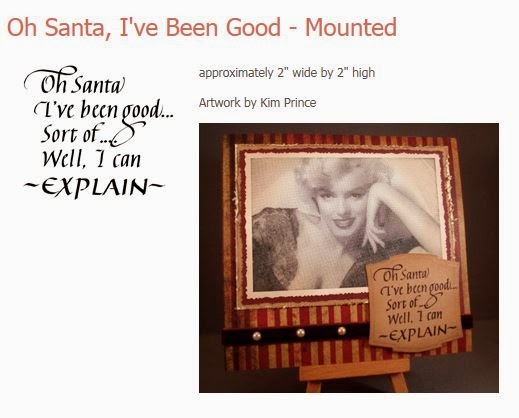
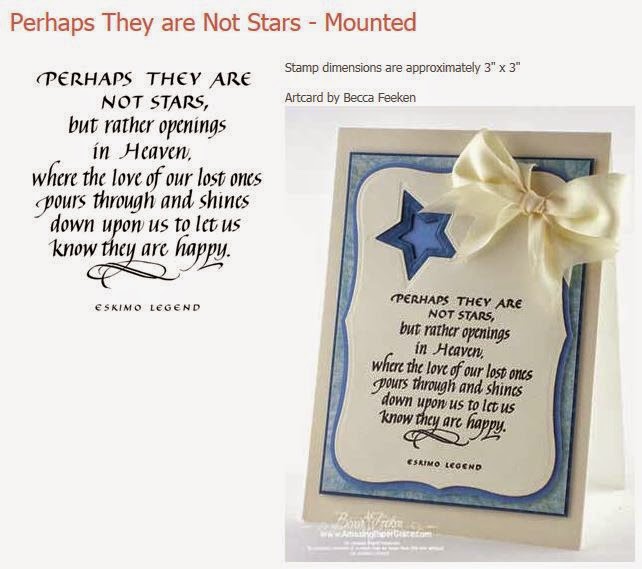
Selected Stamps Now Available as Mounted Stamps

Change inevitably bring challenges and changing to cling and foam mounted stamps has brought its fair share! Slowly but surely we are converting our collection to mounted. Here are some of our most recent conversions to mounted format!  Just click on the image to go to the site for a closer look at the stamp AND the amazing artwork created over the years by the talented designers I've had the pleasure of working with!

http://www.quietfiredesign.ca/product.php?productid=2287&cat=&page=1

http://www.quietfiredesign.ca/product.php?productid=1234&cat=&page=1

http://www.quietfiredesign.ca/product.php?productid=1229&cat=&page=1

http://www.quietfiredesign.ca/product.php?productid=1240&cat=&page=1

http://www.quietfiredesign.ca/product.php?productid=1245&cat=&page=1

http://www.quietfiredesign.ca/product.php?productid=1993&cat=&page=1

http://www.quietfiredesign.ca/product.php?productid=1851&cat=&page=1

http://www.quietfiredesign.ca/product.php?productid=1225&cat=&page=1

http://www.quietfiredesign.ca/product.php?productid=1208&cat=&page=1

http://www.quietfiredesign.ca/product.php?productid=2292&cat=&page=1

http://www.quietfiredesign.ca/product.php?productid=2690&cat=&page=1

http://www.quietfiredesign.ca/product.php?productid=1793&cat=&page=1

http://www.quietfiredesign.ca/product.php?productid=1218&cat=&page=1


Thanks for looking!
Happy creating, Suzanne

Friday, February 20, 2015

Twirl & Enjoy!

Good morning!  Sherry here with you today and I have a frame to share using Quietfire Design’s Twirl & Enjoy and some new Graphic 45 papers.


When I was at CHA, I was lucky enough to “score” Graphic 45’s new collection, Artisan Style, which is the paper used in today’s project.  I found an old shadowbox frame in my chipboard stash which is the base for the project.  The frame came in 4 thin pieces with an acrylic cover (which was not used).  Using double-sided tape, the frame was assembled, the edges painted black and then the paper was adhered to the top using the same tape.


For the sentiment, “do what makes you happy”, a coordinating sheet of the paper was aligned with the opening of the frame and marked around the edges.  In order to get the sentiment in the proper spacing, a stamp-a-ma-jig was used and the sentiment was stamped in black.


The flowers were made by covering grungepaper with more coordinating paper from the Artisan Style collection, and then die cutting.  The back and edges of the flowers were inked with Orange Blossom ink.  The leaves are Art Parts that were inked with Leaf Green and highlighted with squiggles.    Vintage black buttons were used for the flower centers.


Thanks for stopping by and joining me today!

SHERRY SIGNATURE


Project Supplies:


Thursday, February 19, 2015

You Are Never Too Old Card


Howdy Hi from Wanda today!!!  

This card finishes at just shy of 5" x 7".  The background panel is 4 3/4" x 6 3/4".  I started with Distress Inks (mustard seed, victorian velvet, faded jeans, peeled paint, and rusty hinge) applied with an ink blending tool to a piece of manila card.  I flicked the piece with water, let it sit a bit, blotted it and dried it.  White embossing paste is added through a stencil (Prima) and left to dry.  As it dries it absorbs color from the distress ink giving the paste color.  Once is was dry, I used Distress Paint tarnished brass on the edges and lightly brushed it here and there over the paste and dried it.  Next I dabbed a little Distress Stain picket fence here and there on the piece and dried it.  Finally I splattered on some Distress Stain black soot. For the quote, You are never too old,  I rubbed Distress Stain mustard seed on a scrap of paper (a note pad that I use to test stamps, etc... it's thin paper and it also wrinkled a little), stamped the quote with Archival Ink jet black, tore it out, rubbed tarnished brass paint around the edge and then some black soot stain.  I also got some extra spots around that I didn't mean too but it worked ok. I added some strips of washi tape to the card, attached the quote panel with foam mounting tape, the flower was sitting in my work area left from another project, and along the bottom I attached a left over die cut that I added paint and stain to plus a little shading around it.

Thanks for stopping by!!!  If you have time, I'd love to hear what you think!!


Related Posts Plugin for WordPress, Blogger...