

Okay, so maybe not pull toys, but that’s what they
look like! It’s Suzanne here today with
a fun idea with a vintage shabby chic look for your home décor! Inspired
by something I saw in Prims magazine many months ago, I thought it would be fun to make something totally different; a pull toy with
the A Way With Words dies! This project is for the Elizabeth Craft Designs June Designer Challenge which was.... Not a card!
Here is what I did.


Instructions:
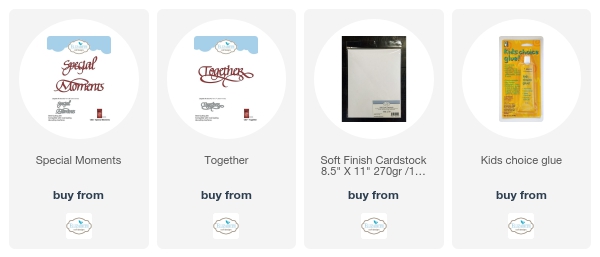
- Die cut two each of A Way With Words Moments (from Special Moments) and Together from white Soft Finish Cardstock.
- Brush Walnut Ink on all surfaces. Allow to dry.
- Rub glue stick randomly on spots on the front of one Moments diecut and one Together diecut. Place gold transfer foil over the surface of the diecuts (gold side up!) and rub. If the foil doesn’t come off right away, wait a few seconds for the glue to become more tacky and try again! You’ll get this wonderful hit and miss gilding. Love it!
- Place the gilded Moments diecut on top of the other Moment diecut. Apply a small amount of glue at the very top of the flourish and the t and allow to dry. Repeat with the Together diecuts.
- Tie twine around one spool (or use a pretty ribbon). This will be the front of the pull toy.
- Gently spread the bottom of the paired diecuts. Apply two dots of glue along the shaft of each spool and stand the word so that it is touching the glue. Allow to dry. Repeat with other word. Designer Tip: If you’re particular about the word being parallel to the surface it will be sitting on, adjust the position of the spool on the flourish of the letter. The flourishes are usually not symmetrical within the word – I never planned for this possibility!
- Give to a special friend who will remember a special moment together with you!

Suzanne
Supplies:
Imagine
Crafts Walnut InkDocrafts bare basics Wooden Bobbins
Ranger Collage Gluestick
Decofoil Gold Foil
Elizabeth Craft Designs Supplies:

3 comments:
Oh my word...this is awesome, Suzanne!! Love the gold transfer foil. Thanks for the instructions!
Thanks Kathy Jo! A little different.... :-)
Wow, I somehow missed this project. It is way cool!!!!!!!!!!!!!!!!!!
Post a Comment