Hi there! It’s
Suzanne here today with the Elizabeth Craft Designs October Designer
Challenge. We’re doing CHRISTMAS this
month. Here is the link to all the projects!
For today's challenge Elizabeth Craft Designs are giving away a $20 Gift Card to use on our website to 3 winners.
To enter simply leave a comment on the Elizabeth Craft Designs Challenge post and tell us "What are your favorite projects to create during the holiday season?”
We will select 3 lucky winners in a random drawing
The
winners will be announced on Friday, October 20th on the Elizabeth Craft Designs blog.

For my project I thought I’d share a way expand was to use your Love Joy Peace die set by creating some hanging ornaments. There is nothing like a little sparkle to catch the Christmas lights!

For my project I thought I’d share a way expand was to use your Love Joy Peace die set by creating some hanging ornaments. There is nothing like a little sparkle to catch the Christmas lights!
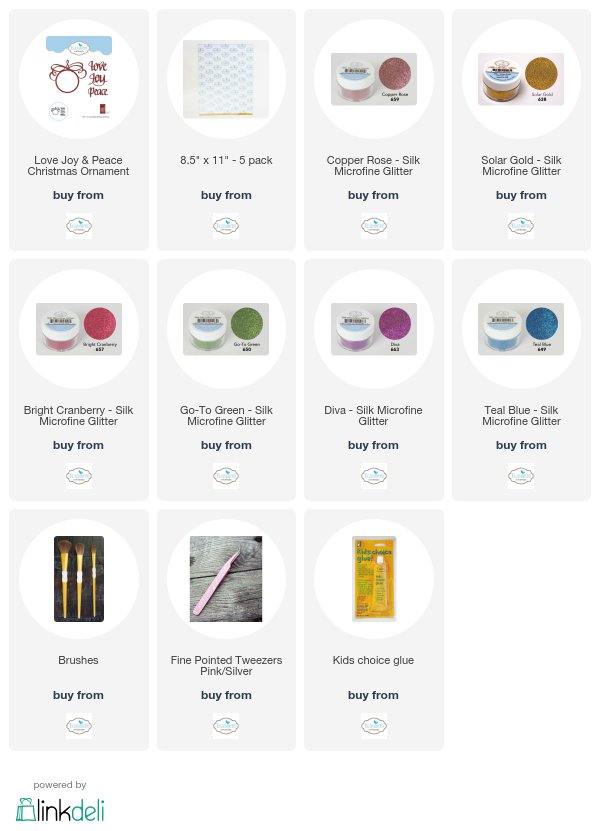
Supplies: Click here to purchase directly from Elizabeth Craft Designs, Inc. (image links below)
Elizabeth Craft Designs Silk Microfine Glitter in Copper Rose & Silver Gold, Teal Blue & Diva, Bright Cranberry & Go-To Green
Elizabeth Craft Designs Clear Double Sided Adhesive Sheets
Fine Pointed Tweezers
Brushes
Others: White cardstock, Tombow Mono or Beacon Kids Choice Glue, thread or cord or
wire
1.
Apply Clear Double Sided Adhesive to
cardstock. Die cut ornament and Joy
(or Peace or Love!) with the release paper facing up. Die cut the same dies again, but flip the
cardstock over before cutting so the release paper is facing down. Designer Note: The ornament, and the words of course, have a
front side and a backside and we want both sides to glitter!
2.
Choose glitter colours. You can use the same colour for everything if
you wish! I chose to use a different coloured glitter for the ornament and the
word. I reversed the colours on the
backside of the ornament, but you don’t have to be that complicated!!
3.
Remove the release paper and apply glitter in
desired colours. Brush off excess
glitter and polish the glittered surface with your finger to bring out the
shine. Be gentle so you don’t deform the
diecuts.
4.
Place the ornament glitter-face down. Lay wire (or thread or cord - or if you have fishing line, try that!) down the middle of
the ornament and apply glue to the back
of the ornament. I used wet glue for
this as it gives a little more open time to slide the backside of the other
ornament into perfect alignment. You are
trapping the wire between the layers.
5.
Do the same with the word die and trap the cord
between the layers. Allow everything to
dry. If you get some white cardstock
showing, simply use a coloured marker to disguise it! Designer Tip: Try die cutting the ornament
and words from cardstock of a colour similar to the glitter you are using.
6.
Trim the cord at the bottom and form a loop (or
hook if you’re using wire) to finish.
You can attach this ornament to the front of a card - it would mail flat!
I photographed these ornaments against a white background, but under normal circumstances you wouldn't notice the wire up the middle of the ornament. Let me know what you decide to use for a hanger!
Merry Christmas! Happy creating, Suzanne
Here is a photo of the back of the ornaments! They look just as nice! (Sometimes, depending on the glue, the words will spin in the center of the ornament. Sweet!)


No comments:
Post a Comment