Showing posts with label Bliss. Show all posts

Tuesday, March 9, 2021

Bliss Card


Hey Quietfire Fans! For today's project I'm sharing with you my Bliss Card. I combined a variety of dies, stamps and Modern Gilding Powders, which were all perfect for creating this card. You'll want to grab a cup of your favourite beverage and learn how to recreate my Bliss Card at home.

To start, die cut the Flourished Frame out of a piece of white cardstock.


Die cut the medium butterfly from the Butterfly Flourish Die out of a piece of white cardstock. Apply Emboss It Ink to the butterfly. Sprinkle Tyrian Purple Modern Gilding Powders over the entire butterfly. Tap off the excess powder and emboss with a heat tool.


Die cut the Bliss Word out of a piece of white cardstock. Apply Emboss It Ink to the Bliss word. Sprinkle Armenian Pink Modern Gilding Powders over the entire word. Tap off the excess powder and emboss with a heat tool.


Die cut the Flourished Oval Frame out of a piece of white cardstock. Apply Emboss It Ink to the frame. Sprinkle Forever Platinum Modern Gilding Powders over the entire frame. Tap off the excess powder and emboss with a heat tool.


Die cut a 4" Stitched Rounded Rectangle out of a piece of book page. Die cut a 3 1/2" Stitched Rounded Rectangle out of a piece of book page. Distress the edges of both rectangles. Ink the edges of both rectangles using Walnut Stain Distress Ink and a blending tool with foam.


Die cut a 3 3/4" Fitted Rounded Rectangle out of a piece of kraft cardstock. Distress the edges of the rectangle. Ink the edges of the rectangle using Walnut Stain Distress Ink and a blending tool with foam.


Adhere the flourished frame to the 4" rectangle.


Adhere the 3 1/2" rectangle to the 3 3/4" rectangle. Foam square the 3 3/4" rectangle to the 4" rectangle. 


Adhere the flourished oval frame to the middle of the 3 1/4" rectangle. Foam square the butterfly to the middle of the flourished oval frame. Adhere the Bliss word to the bottom of the butterfly as desired.


To finish the card, cut a cardbase out of white cardstock that measures 4" x 10 1/2", score at 5 1/4". Adhere the cardfront to the cardbase.


Here are a couple of closeup shots of the finished card.


Here is the finished Bliss Card.


Quietfire Design Supplies Used:

Other Supplies Used:

- Elizabeth Craft Designs: Stitched Rounded Rectangle and Fitted Rounded Rectangle
- Tim Holtz for Ranger Ink: Distress Ink - Walnut Stain and Blending Tool with Foam
- Ranger Ink: Emboss It Dabber
- Misc: White Cardstock, Kraft Cardstock and Book page

Thanks so much for joining me today and I hope that I have inspired you to recreate your own version of my Bliss Card at home.

- Katelyn


Monday, August 26, 2019

Using Photos to Make Quick Cards

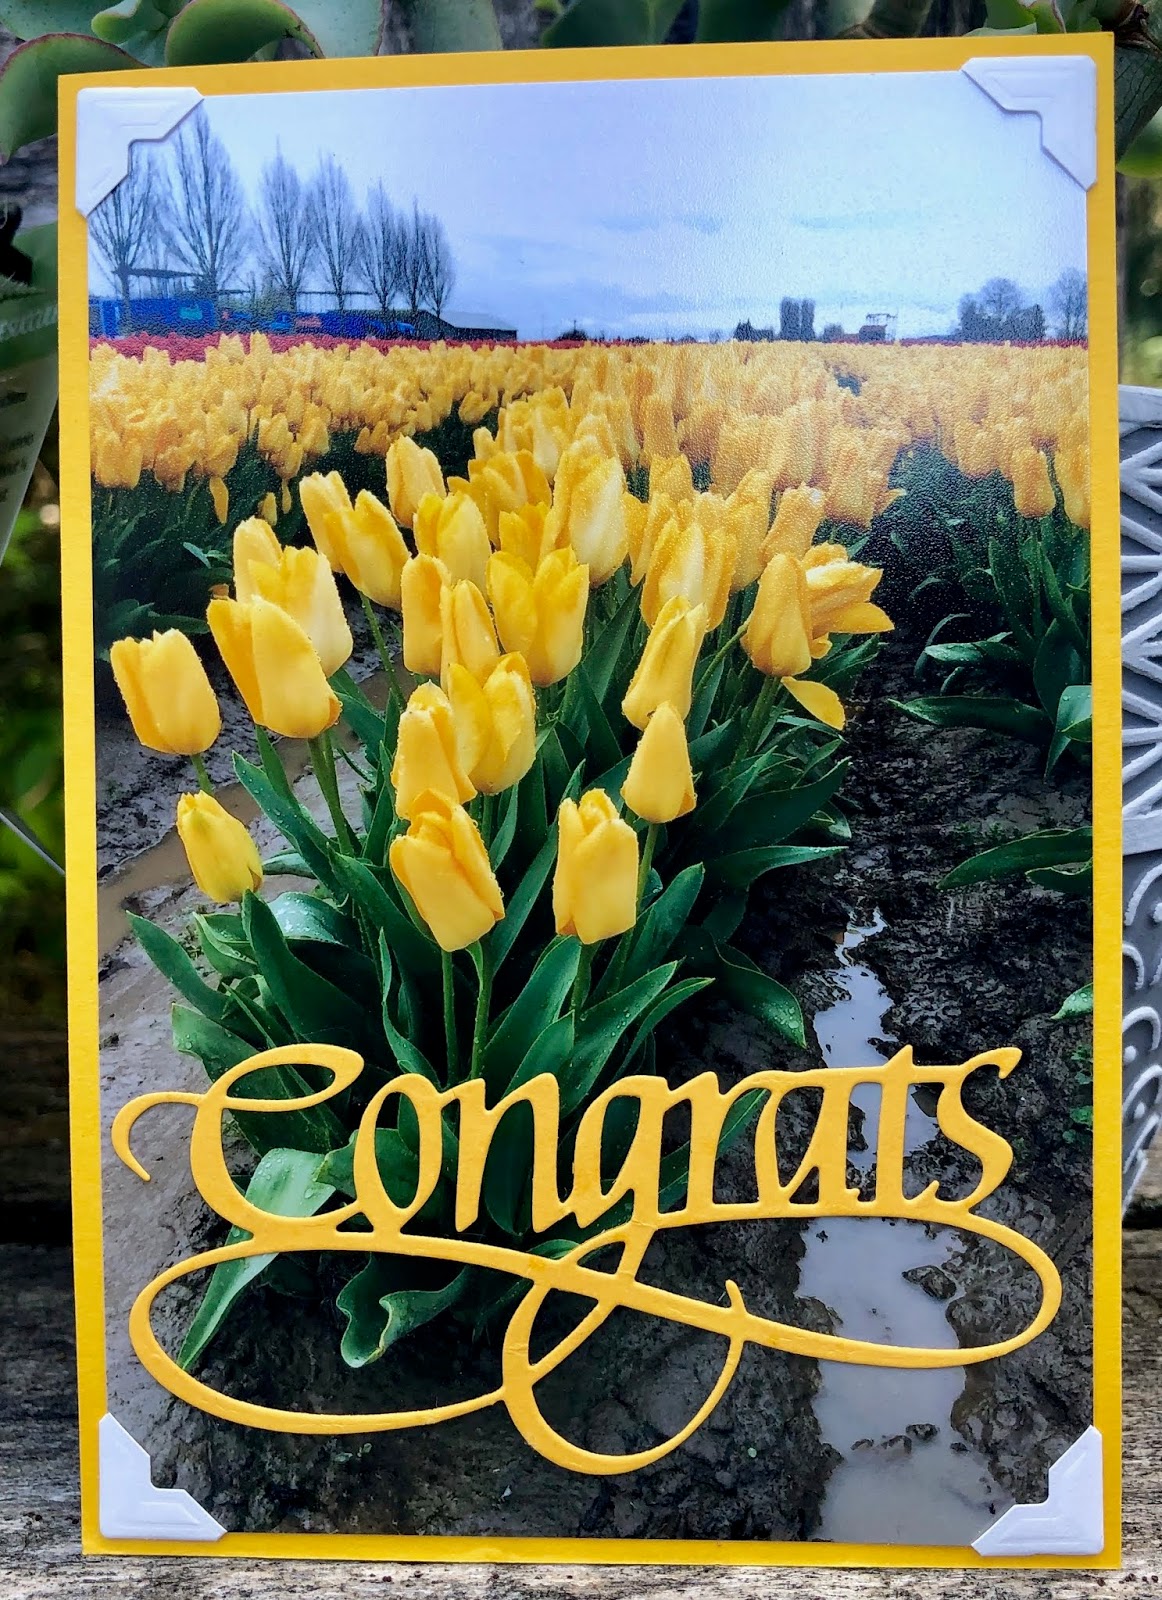
Hi Connie Nichol here today with some super quick  cards using photographs as a base.  Simply add a Way with Words die of your choice from Quietfire Design.  I used this idea a couple of years ago on this blog and felt the urge to make some more of these kinds of cards.  If you need some more ideas, check out the posts from 2017 here and here.

Simply take a 4x6 photo of landscapes, flowers, animals or other interesting things, adhere a die cut word to the photograph and mount on a cardstock base.  You can embellish lightly, but really, it's all about the photo and the word.  Simple, huh?  Here's some ideas:


You can even cut out part of the picture and use it as an embellishment.  I had this 4x6 photo of a rooster, so I just fussy cut him out and glued him to a sewing pattern background.


Quietfire Design Supplies Used:


Other Supplies:  Bazzill cardstock, Crafter's Companion mirrored cardstock, dollar store gems, unknown ribbon


Thursday, January 24, 2019

This is Bliss Scrapbook Layout

Hello Connie Nichol here today with a scrapbook layout featuring two dies of the new release by Suzanne Cannon. 


The word 'Bliss' is perfect for as a page title for all of those happy scrapbooking events - vacations, sitting by the lake, having a pedicure, drinking a good cup of coffee, and so many more things.  I cut the word out of cream coloured cardstock and pink cardstock, offsetting them just slightly.


I used the butterfly spray die from the butterfly and stars spray die set to create a temporary stencil out of cardstock.  You could also use the die cut butterflies to accent your projects.


Adhere the stencil to the corner of your page with a bit of washi tape and use ink or other media to add some butterflies to your page background.


I used molding paste because I like a little dimension and texture on my scrapbook pages.  Plain white molding paste would add a subtle touch or you can colour it up with a drop or two of spray ink or reinker.  I just scoop a small spoonful of paste onto a scrap of cardstock and mix it up.   Just smear it through your stencil and let dry.  Use washi tape to block off areas on the stencil that you don't want to use and then just toss it into the trash when you're done.  It's easy enough to cut another one any time you want it!


That's all for today.  Thanks for dropping by and I hope you have a blissful experience planned in your future!


Saturday, January 12, 2019

New this Month!


I'm excited to share my new die release with you!  It's 6 items (10 dies) that will combine beautifully with other A Way With Word dies.  The whole collection is full of amazing possibilities - almost 100 dies and sets for every occasion!  I could never have imagined it a few years ago and am so grateful to Els at Elizabeth Craft Designs for producing them.


These new designs are on the Quietfire site and are available for Pre-Order immediately!  I should be shipping them before the end of this month.


Stay tuned to the Design Team blogs for projects sharing these new dies!  Here are some sneak peeks from Wanda (top) and Diana (bottom).


I look forward to seeing what you'll create with the new A Way With Word dies!
Happy creating, Suzanne
Related Posts Plugin for WordPress, Blogger...