Showing posts with label small happy birthday. Show all posts

Wednesday, May 20, 2020

Happy Birthday with Watercolor Caulk Background

Hi Connie Nichol here today with another card featuring a acrylic latex caulking background.  When I was playing with this technique for a magazine article about using stuff from the hardware store, I made a lot of backgrounds to use up the tube of caulk before it dried out.  This is a fun and colorful variation, and perfect for the small Happy Birthday die cut.


I made this background by spreading caulk through an old piece of window screen.  You could certainly use any other kind of stencil but the screen gave quite a cool effect.  Let the caulking dry, then sprinkle with a few grains of Magenta Nuance powders (a water soluble powdered die) and spritz gently with water to activate.  Let dry and attach your die cuts and ribbon.  Give the technique a try - it's frugal, quick and unique.  It's also lots of fun.  Have a great week, Connie


Supplies:  Elizabeth Craft Design Way with Words die small Happy Birthday

Other Supplies:  Multicraft leaf die cut and sequins, pompom trim, glitter paper


Monday, August 26, 2019

Using Photos to Make Quick Cards

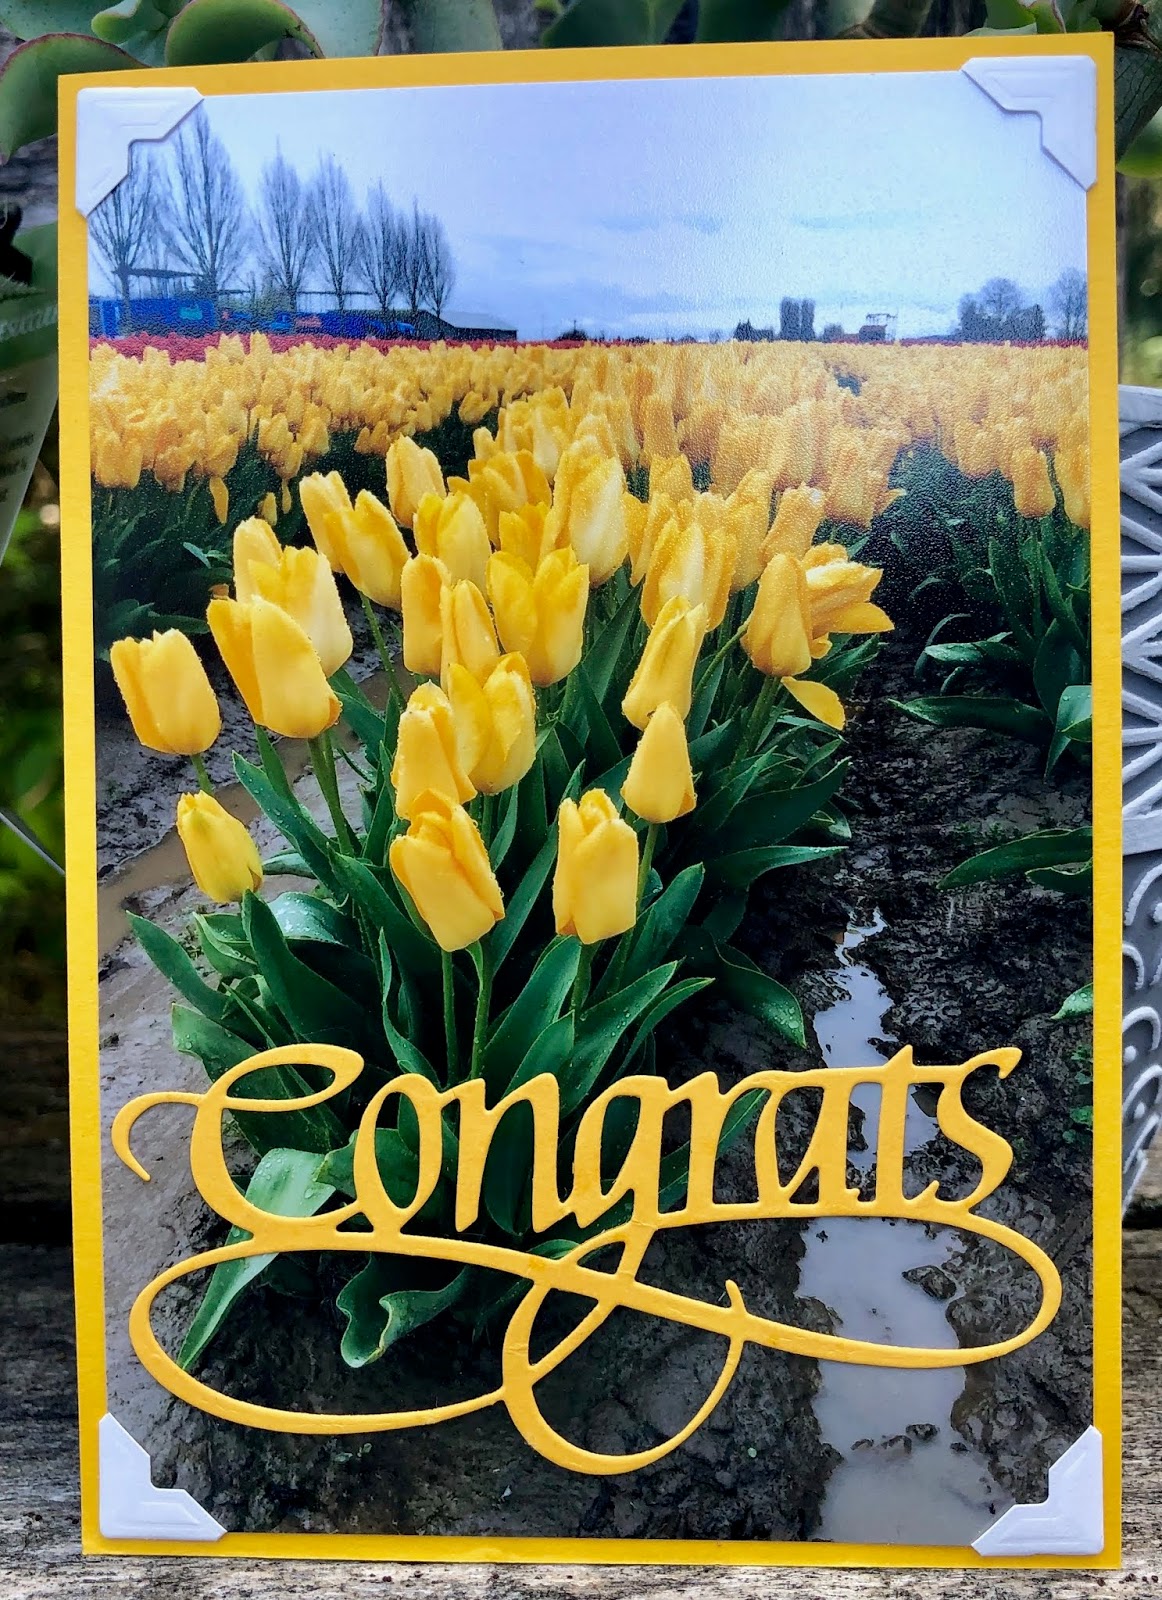
Hi Connie Nichol here today with some super quick  cards using photographs as a base.  Simply add a Way with Words die of your choice from Quietfire Design.  I used this idea a couple of years ago on this blog and felt the urge to make some more of these kinds of cards.  If you need some more ideas, check out the posts from 2017 here and here.

Simply take a 4x6 photo of landscapes, flowers, animals or other interesting things, adhere a die cut word to the photograph and mount on a cardstock base.  You can embellish lightly, but really, it's all about the photo and the word.  Simple, huh?  Here's some ideas:


You can even cut out part of the picture and use it as an embellishment.  I had this 4x6 photo of a rooster, so I just fussy cut him out and glued him to a sewing pattern background.


Quietfire Design Supplies Used:


Other Supplies:  Bazzill cardstock, Crafter's Companion mirrored cardstock, dollar store gems, unknown ribbon


Thursday, July 25, 2019

Recycled Playing Cards

Hello, Connie Nichol here today with two cards I made using old playing cards and Quietfire Design dies.  Most of us have playing cards laying around, sometimes missing a few cards from the deck.  The fronts and the backs can be repurposed to create unique greeting cards.  For the good luck card, I just glued together a flush, put them on a pretty background and added the die cut 'Good Luck'. 


The background is a silver mirror cardstock that I dry embossed with an embossing folder.  It is very hard to photograph because it reflects everything!  You could also feature four aces or any other great poker hand.


You can also use the back of playing cards to create your card.  For the happy birthday card, I simply punched squares and adhered them to a cardstock base.  I dabbed the squares with embossing ink and added a coat of clear embossing powder, but you don't need to do this step. Easy and quick!

If you'd like more ideas about recycling playing cards, check out my article in the upcoming fall 2019 issue of Creative Scrapbooker magazine.  It should start arriving in mailboxes mid to late August and on newstands September 1.

Quietfire Design Supplies Used:  Good Luck metal cutting die, Happy Birthday - small metal cutting die

Other Supplies:  Clearsnap embossing ink and clear embossing powder, Close to My Heart cardstock and embossing folder, Crafter's Companion silver mirror cardstock.

Thursday, June 27, 2019

Recycling Sewing Patterns

Hello, Connie Nichol here today with a few cards that use old sewing patterns for backgrounds.  I recently did an article on this topic for Creative Scrapbooker Magazine  and I am just enamoured with the old patterns.  They make such easy and pretty cards.  Here's a couple of examples:


Here's what you need to make your card background - an old sewing pattern, white cardstock and some gel medium.  I usually find old sewing patterns at thrift stores and one pattern goes a long way. Take a section of the patterned tissue and adhere it to a pre-cut layer of cardstock with the gel medium.  Gel medium is essentially an acrylic paint without the pigment so it dries clear, smooth and it is archivally safe.  It comes in different thicknesses and finishes - for cards, I'd recommend the matte finish.  This gel medium by Prima works really well.


When the gel medium is dry, about 10-20 minutes depending upon how thick you've applied it, put it in an embossing folder and run it through your manual die cutting machine to add a whole bunch of texture.


Then, simply add a Quietfire Design die cut word, or a stamped quote.  You can add a bit of ribbon, paper flowers or other embellishment but that's it.  Easy, huh?

Here's a card that was published in the summer issue of Creative Scrapbooker magazine.   I created a sewing pattern flower by twisting strips of sewing tissue and winding in a circle on a sheet of two sided adhesive.  I coloured it by giving it a quick spray with dye ink spritzer.  Add the die cut small Happy Birthday and you've created a unique card.


Quietfire Design Supplies Used:  Celebrate and small Happy Birthday dies, I Will Write Peace rubber stamp

Other Supplies:  Prima gel medium and pink flowers, Multi-craft wooden bird and rhinestone trim, Sizzix and Stampin Up! embossing folders, Clearsnap ink


Wednesday, October 25, 2017

Happy Birthday, Unforgettable and Magic - More Photo Cards

Hello, Connie Nichol here again with three more cards using a photograph as a base and adding a die cut word from the selection of Way with Words dies from Quietfire Design.  I am in love with this idea.  It is such a quick way to make a unique card for that special someone.


It's also quite a frugal way to make cards - it costs only about 15 cents to print a 4x6 photo if you take advantage of a sale promotion.  And of course, the metal dies are a great value because you can basically use them forever to cut infinite numbers of die cut words.


Adhere the die cut directly on the photo if there is room, or on the card base if there is not. You don't have to get fancy.  I had some leftover patterned paper and burlap that I used up, but really, it's all about the photograph and the die cut word.


I hope you are inspired to create some beautiful cards.  Here are the dies I used:


Other Supplies Used:  Elizabeth Craft Designs patterned paper and cardstock, EK Success border punch, Brother sewing maching, Scrapbook Adhesives by 3L adhesive, burlap, ribbon.


Related Posts Plugin for WordPress, Blogger...