

Hey Quietfire Fans! This month's challenge over at Elizabeth Craft Designs blog is using the newly released Joset Designs Character Dies. Which isn't a challenge as there are so many possibilities for the different characters combined with A Way With Words dies. By combining a variety of the A Way With Words Dies and the new Santa Claus Character Die, I was able to create this fun Season's Greetings Card.
Before I share with you how I created my card, here is some information about winning the monthly draw at Elizabeth Craft Designs. In order to be eligible for the prize, you need to answer a question. This month's question is: What of the characters from the new Joset Designs collection is your favourite?
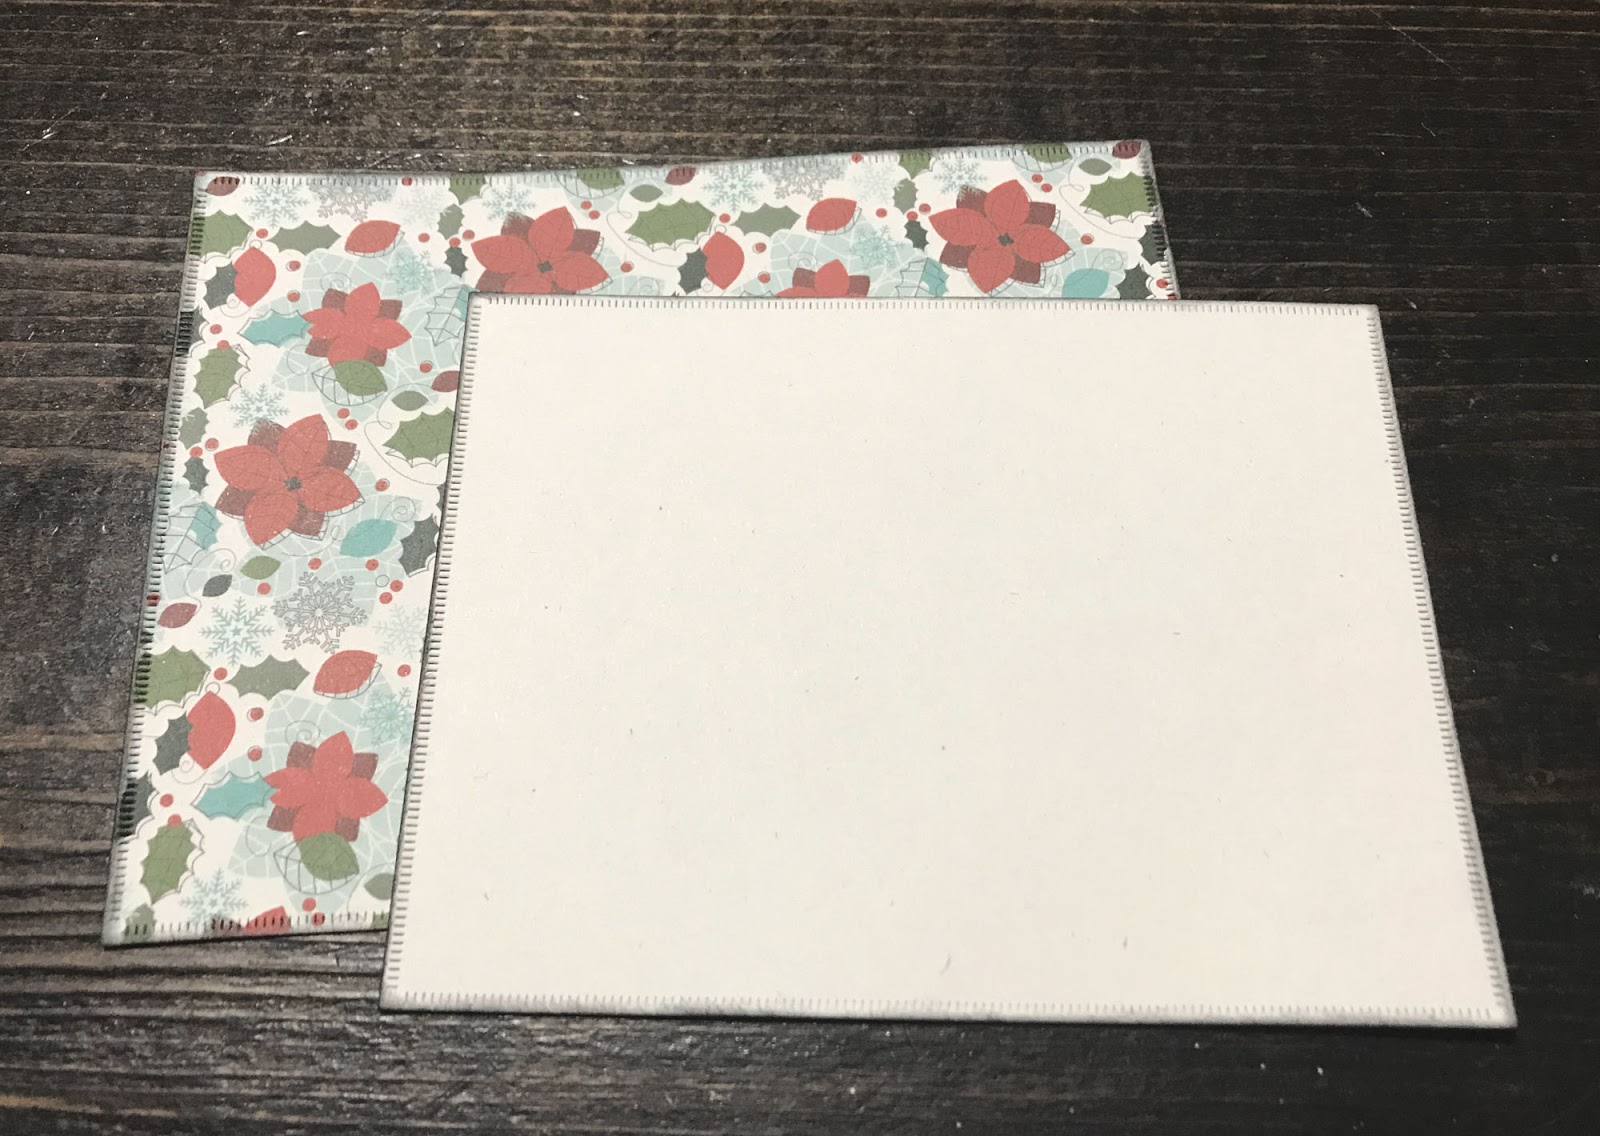
To start, choose a piece of patterned paper from the ModaScrap It's Christmas Time Paper Pack. Place the 5 3/4" Dashing Rectangle die onto the patterned paper piece. Run the die through your diecutting machine. Flip the same piece of patterned paper over and place the 5 1/4" Dashing Rectangle die onto the piece of paper. Run through your die cutting machine. Ink the edges of both pieces using Black Soot Distress Ink and a blending tool with foam.
Die cut the Flourished Frame Die out of White Soft Finish Cardstock. Using a blending tool with foam, blend Forest Moss Distress Oxide Ink over the entire surface of the flourished frame.

Die cut the Season's Greetings out of White Soft Finish Cardstock. Using a blending tool with foam, blend Candied Apple Distress Oxide Ink over the entire surface of the Season's Greetings sentiment.

Die cut all the pieces from the Santa Clause die out of White Soft Finish Cardstock.
The trim for Santa's suit, beard, moustache and pom pom for the top of his hat all stay white.

Using a blending tool with foam, blend Candied Apple Distress Oxide Ink over the entire surface of the hat, suit and half of the pants. Using a blending tool with foam, blend Black Soot Distress Oxide Ink over the bottom half of Santa's pants.

Using a blending tool with foam, blend Black Soot Distress Oxide Ink over the entire surface of the mitts and buttons.

Using a blending tool with foam, blend Tattered Rose Distress Oxide Ink over the entire surface of the face and nose.

For the bell, use a blending tool with foam to blend Fossilized Amber Distress Ink over the entire surface of the bell.

Now it's time for assembly.
Foam square the 5 1/4" dashing rectangle to the 5 3/4" dashing rectangle.

Adhere the flourished frame to the 5 1/4" dashing rectangle. Adhere the Season's Greetings sentiment to the middle of the flourished frame.

Adhere Santa Claus together. To finish Santa off, use a black gel pen to add eyes to Santa's face.

Foam square Santa Claus to the left of the Season's Greetings sentiment.

To finish off the card, cut a cardbase out of White Soft Finish Cardstock that measures 5 3/4" x 9", score at 4 1/2". Adhere the cardfront to the cardbase.

Here are a couple of closeup shots of the card.


Thanks so much for joining me today and taking a look at my project! I hope that I've inspired you to want to recreate my card at home.

Elizabeth Craft Designs Supplies Used:
- ModaScrap: It's Christmas Time Paper Pack
Other Supplies Used:
- Tim Holtz for Ranger Ink: Distress Ink - Fossilized Amber, Distress Oxide Ink - Black Soot, Tattered Rose, Candied Apple & Forest Moss and a Blending Tool with Foam
- Misc: Black Gel Pen
- Katelyn

2 comments:
Such a beautiful card!
Adorable! I love the way you used Distress Oxide inks to color the pieces of Santa and his suit. My brain doesn’t think that way, unfortunately. I probably would have cut Santa out at least 3 times— one each of red, black, and white cardstock —then assembled him. Lots of wasted cardstock and energy, not to mention that he wouldn’t look nearly so cute. Thanks for the ideas!
Post a Comment