Showing posts with label To Give Thanks. Show all posts

Tuesday, September 10, 2019

To Give Thanks Card

Hello, everyone!

It's Nancy back with you today! I have a new card to share with you,
using a combination of a fabulous Fall stamp set from Quietfire Design,
along with a fantastic Fall card cut file from the Silhouette Design Store.

With our Canadian Thanksgiving fast approaching,
I decided it was time for a Happy Thanksgiving card.
These wonderful products made it so easy!

Here's my card:


I began with the cut file.
This is the Autumn Pumpkin Doily Card.
Here's what the pieces look like all cut out:


I opted to use all plain cardstock for my card this time. 
The front focal piece has some intricate cuts that I didn't want lost in patterned paper.
I knew I wanted to do some stamping with black ink, so I chose black for my card base.
It adds a great frame around the finished piece.


Then I moved on to the stamping, using the To Give Thanks Stamp Set.
I began by stamping the "Happy Thanksgiving" in the center of the front piece.
For my layered piece behind it I chose the orange cardstock.
That way all the little pumpkins would show orange through the green.
Using a stamp positioning tool, I positioned the little pumpkin in the corner and stamped.
Then I just had to rotate the cardstock, and the pumpkin was stamped the same in each corner.
Then I adhered all the layers in place, using foam tape under the top lay for added dimension.
Finally, I added a double-loop bow out of shimmery ribbon.


I didn't take a picture of them but all the little pumpkin cutouts are adorable.
They'd make wonderful confetti to add to the inside of the card! ;o)
  

Quietfire Design Products Used:


Other Materials Used:

Cardstock: Recollections, American Crafts;
Ink: Imagine Crafts - Memento Tuxedo Black;
Ribbon: Celebrate It.


* * * * *

Thanks so much for stopping in today!
I hope you liked looking at my card! I sure enjoyed making it! 
See you again soon! 
Nancy :o)

Friday, September 25, 2015

Thanksgiving Easel Card - Kelly Klapstein, Guest Designer


Hello Everyone! I’m so pleased to be joining you again this month as guest designer, and today I have a Thanksgiving card to share.


The beautiful stamp set “To Give Thanks” is perfect for a Thanksgiving card. I made an easel card base and added pieces of patterned paper and a pumpkin, along with stamped images.


To Give Thanks, set of 4 stamps


Quietfire Thanks die from Elizabeth Craft Designs 


The die “Thanks” was cut from black cardstock and layered onto paper that has the “To Give Thanks” text stamped onto the background.  You can easily make your own script paper by stamping text onto it.


I just love this stamp set and die combination! 

It was wonderful to have the opportunity to work with the Quietfire Design products, and I am thankful for the invitation. The exceptional quality makes crafting a delight!
Kelly Klapstein

Additional Supply list:
Core'dinations cardstock; FabScraps paper; Brother ScanNCut; Clearsnap Ink; May Arts Twine; Scrapbook Adhesives by 3L E-Z Runner and Crafty Foam Tape.  


To see more of Kelly’s projects and learn some crafty tips, visit her website www.kellycreates.ca

Saturday, February 22, 2014

To Give Thanks - Katie Label Pivot Card


http://www.allfreepapercrafts.com/
You may have already seen this project over on the Elizabeth Craft Blog, but we love it, so we're sharing it, too!  It's so cheery and bright and makes you forget the snow and rain and  maybe your troubles, too....

Guest Designer Judi Kauffman made this card for a friend who is going through a rough time, to be delivered with soup and a hug.


 She sent instructions: 
  1. Use the Karen Burniston, Designer "Katie Label Pivot Card" die #768  to cut bright green cardstock card base (4" x 5.5" folded size). 
  2. With Ranger Adirondacks Pesto ink, Stamp Quietfire Design Gentle Thoughts "To GiveThanks" messages on bright white cardstock. Die-cut with the second-to-largest Katie Label accessory die. 
  3. Cut a border in sage green with the largest Katie Label accessory die. Adhere white stamped shapes onto sage shapes, and adhere both onto the pivot (centered). 
  4. Die-cut two rose leaves from darker green cardstock using Elizabeth Craft Designs Rose die #799
  5. Emboss a 4" square piece of Peridot Gemstones Shimmer Sheetz with Elizabeth Craft Designs embossing folder E105 Curvy Leaves. Lightly sand the reverse side so the leaves are de-bossed and the background is toned down by the sanding to reveal the silver core. Cut vertically into two pieces, following the curvy lines in the embossing, close to the leaves. 
  6. Adhere with double-sided adhesive sheet to left and right of card for a sparkly border. 
  7. Adhere rose leaves and pairs of small dimensional flowers to the pivot as shown. 8. Deliver in person or mail in a padded envelope. For standard postage, use low relief or flat flowers instead of dimensional ones. 


To see the Quietfire selection of Elizabeth Craft Products, click here
.
Shimmer Sheetz may be found here.
Thanks to Judi for sharing with us and thanks to you for stopping by!
Here are thumbnail links to some of the products we carry. 


Wednesday, November 13, 2013

Happy Thanksgiving

Hi Everyone it's Teresa here today and I was just thinking
that the holidays will soon be here and it's a good time
to start making some special cards to send out to family
and friends for Thanksgiving so today I have a pretty
card to share with the new Thanksgiving stamp set
just released called "To Give Thanks" #6386.


I wanted to do something with the pretty fall colors we see now and saw 
this paper pad by Kaisercraft that had just that but just a touch of
rose and teal.  I used the Spellbinders Majestic Labels Twenty Five
to create the layered back round but I wanted to make the beautiful
saying stand out a little more so I stamped it in dark brown ink
to match and cut/embossed it with the Classic Scalloped Ovals
die.  And I inked around the inside just a little bit with Tim Holtz
Tea Dye Distress ink and a dauber to make it pop out even more.
 The flowers are from Prima and I added a little
jute in it just to give it a little more country feel.  


It was super easy and quick to make and would be perfect to send
out to the special people in your life that you are thankful for!


Here is the stamp set.  It has lots of gorgeous pieces that you can
use to create some very special cards to send out....

Thanks for stopping by today for a little bit of Quietfire Design
stamping inspiration and don't forget to leave a comment
letting us know how you like the new set...

Monday, November 11, 2013

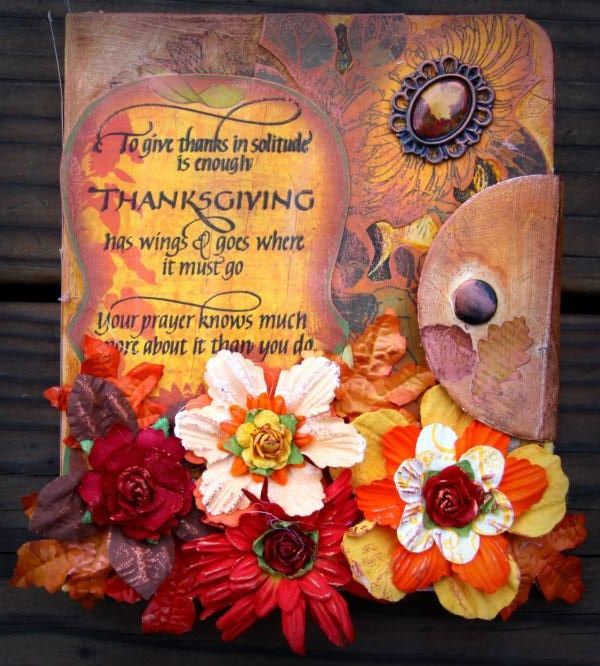
Gratitude Journals - To Give Thanks

Good morning!  Debbie here today with a project that reminds me everyday is a gift.  I like Gratitude Journals to write it down....sometimes when you write it down you are easily reminded of all the great things in life. Taking life and the people in it for granted is easy to do.  Forgetting to be thankful is easy.  This little journal makes it easier to remember.


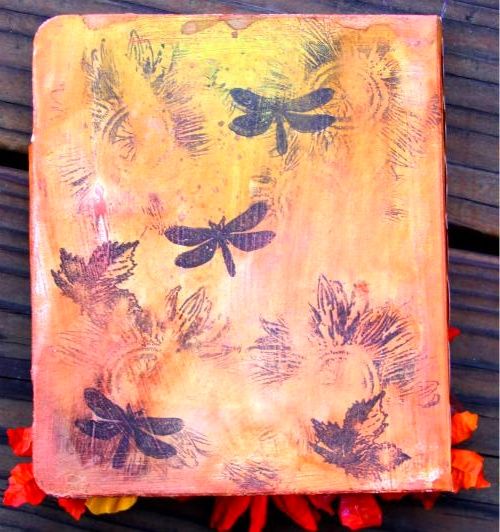
Back of the Journal.


The stamp is by Quietfire Design and is called To Give Thanks.


To Give Thanks - Set of 4 Stamps


It's a beautiful sentiment and perfect for your holiday cards and journals. I will leave this on my dining table so that my guests can write in it if they choose.

Thanks for stopping by the Quietfire Designs Blog today!

Debbie


Monday, November 4, 2013

To Give Thanks in Fall Colors!


Good morning!  Sherry here today with a quick and easy Thanksgiving card using the new set, To Give Thanks

ThanksgivingCard

The flowers are stenciled (with the top two trimmed out and popped up over the others). 

Using watercolor paper as my base, I stenciled the base flower in Rusty Hinge Distress Ink and then die cut/embossed the image with Spellbinders 5x7 Matting Basics A.  The other flowers were stenciled with Aged Mahogany and Mustard Seed and then trimmed out from the watercolor paper. 

ThanksgivingCardCLOSEup

Because I have a tendency to stamp my sentiments a little crooked, I decided to stamp “Happy Thanksgiving” on a separate sheet of paper and then die cut it out.  I used Spellbinders Small Ovals to die cut/emboss the sentiment, then punched a hole in opposite ends so I could run my ribbon through.  I found the ribbon in my stash jar, and I’m pretty sure it was dyed with Rusty Hinge, even though it looks a little too dark.  The edges of the background and the sentiment were sponged with Antique Linen while they were still in the dies, leaving that pretty white edge.

That’s all I have today.  Thanks for stopping by and joining me!


SHERRY SIGNATURE


Project Supplies:


Friday, November 1, 2013

TO GIVE THANKS - CARD

Hi Everyone! Holly here, with a technique card for thanksgiving.
 
I chose the Happy Thanksgiving stamp from the TO GIVE THANKS set.
This technique uses dollar store white glue and napkins. Begin by separating the layers of napkin and use only the top colour layer. Cut a piece of white cardstock to size. Mine is 1/8" smaller on all sides, than my basecard, which is 4" x 8".
Spread out a small puddle of glue, using a scrap piece of plastic from packaging. You want to spread the glue, thinly, from edge to edge, completely covering the cardstock. My card uses two pieces of napkin, so I covered each area with glue, as I was ready to apply the napkin.
Smooth down the napkin, tapping gently then pressing with your hands to smooth it out. Expect some wrinkles in the finished product. They add character, I'm told. Once dry, trim flush to the card stock, and sponge all around the edge, same as the scallop circle, which follows.
I stamped the sentiment, then die-cut around it using SPELLBINDERS NESTIBILITIES SCALLOP CIRCLES , then sponging edge with RANGER DISTRESS INK in Brushed Corduroy. The foliage from the pumpkin stamp was stamped on diagonal sides with Dried Marigold, as well as light sponging all around. I added dots of copper paint for accents.
I added a strip of card stock covered with a strip of burlap, over the seam of the two napkin pieces, then adhered the scallop circle with foam squares.
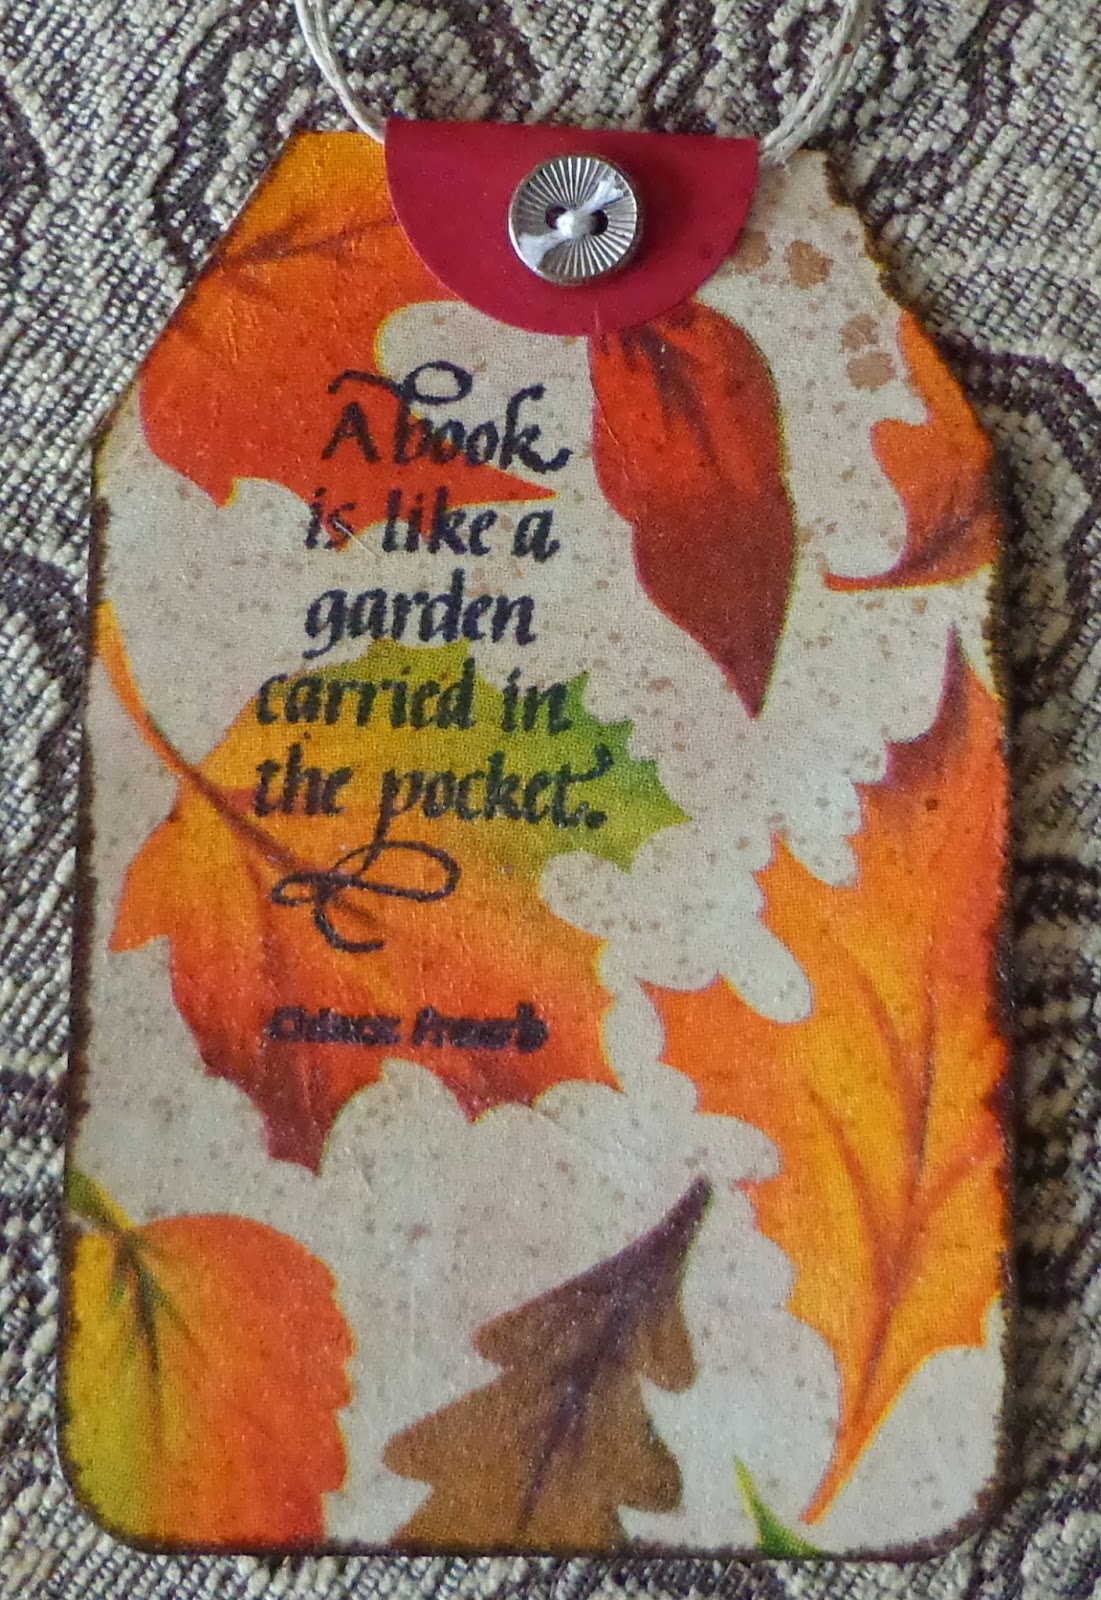
I used the same technique for the tag/bookmark, but a different napkin design.
The stamp is from NATURE QUOTEMARKS 
I really like how it works for the bookmark.
Instead of sponging, I pressed the tag/bookmark edges into the Walnut Ink distress ink pad. You can see how it bled into the napkin a bit. I think it adds to the feel of fall leaves.
 
 
There are other techniques out there using napkins on your card stock, this is but one. I have also tried it using the patterned tissue and it works well. Just pat it all gently and once it sticks, press flat, expecting to have character wrinkles.
 
Have fun with this and have a wonderful Thanksgiving- everyday!
Thanks for stopping by.


Monday, October 21, 2013

To Give Thanks!


Good morning!  Sherry here today and I have a quick and easy card to share using the new set To Give Thanks.

ThanksgivingCard

I had the idea for the image before I started anything else with the card.  The background pumpkin was stamped in VersaMark, sprinkled with copper embossing powder and then the embossing powder was rubbed off.  (I actually came up with rubbing the embossing powder off after a few trial and errors while trying to get this image to work.)  The pumpkin and leaves were water colored with markers and the excess water was dabbed off to create a softer look.  “Happy Thanksgiving” was then stamped over the image and embossed in copper.  The sentiment was then die cut/embossed with Spellbinders Small Ovals and while still in the die, was sponged with Antique Linen.  Coordinating paper was die cut/embossed with the Large and Scalloped Ovals.

ThanksgivingCardSentiment

I pulled out some old KaiserCraft paper from my stash that I thought would go with Thanksgiving and used it for the card.  The edges were distress and then inked with Antique Linen Distress Ink.  The ribbon was dyed with Bundled Sage Distress Stain.  The bottom border for the card was die cut with Spellbinders Scalloped Borders Two.

ThanksgivingCardAngle

That’s all for me today!  Thanks for joining me.

SHERRY SIGNATURE

Project Supplies:


Related Posts Plugin for WordPress, Blogger...