

My name is
Karen Hasheck and I am thrilled to be a guest designer here today. I have been
a fan of Suzanne Cannon’s gorgeous stamps and dies for a long time and was so
happy to meet her at the 2017 Creativation in Phoenix last January. So of
course, when she asked me to play with her beautiful stamps and dies as a guest
dt, I jumped at the chance.
 |
| Wishing You Whimsy |
Don’t we all
love glitter and sparkles? I like all the choices of wishes in the Wishing You Whimsy stamp set, but my favorite for the special crafty females in my life is
this wish for “glitter and sparkles.” I stamped “wishing you” in black ink on a
piece of vellum. Then I stamped the “glitter and sparkles” with Versamark,
applied Nuvo’s Gold Enchantment Glitter Embossing Powder and heat set it with
my heat gun. I cut out the circle with a stitched circle die from Lil’ Inker.
The glitter
and sparkles are all over the background I created for this card too. I cut a
piece of watercolor paper 5 ½ inches by 4 ¼ inches and wet it with the Nuvo
Light Mist Spray Bottle. I sprinkled on Cobalt Blue, Orange, Purple and Ostwalt
Blue Brusho Coloured Crystals, then spritzed them again with water. Brushos are
watercolor powder crystals and release gorgeous colors when wet. I sprayed
until the colors were mixed, then sprinkled on Nuvo Silver Embossing Powder
while still wet. Then I dried the piece with my heat gun. This part does take
some time to first dry the Brushos and then dry the embossing powder
completely.
After the
piece was dry, I decided the card front needed a little more glitter to frame
the circle sentiment. I applied ¼” scor-tape going up, then down and then up
again. I removed the top layer of the scor-tape and sprinkled on Nuvo Gold
Shine Sparkle Dust (a very fine glitter), and burnished it in. I created a thin
purple line of glitter below the gold one using 1/8” scor-tape and Nuvo Cosmo
Berry Sparkle Dust. I attached the vellum circle wish with sparkly silver brads
and then adhered the completed card front to a white A2 card base.
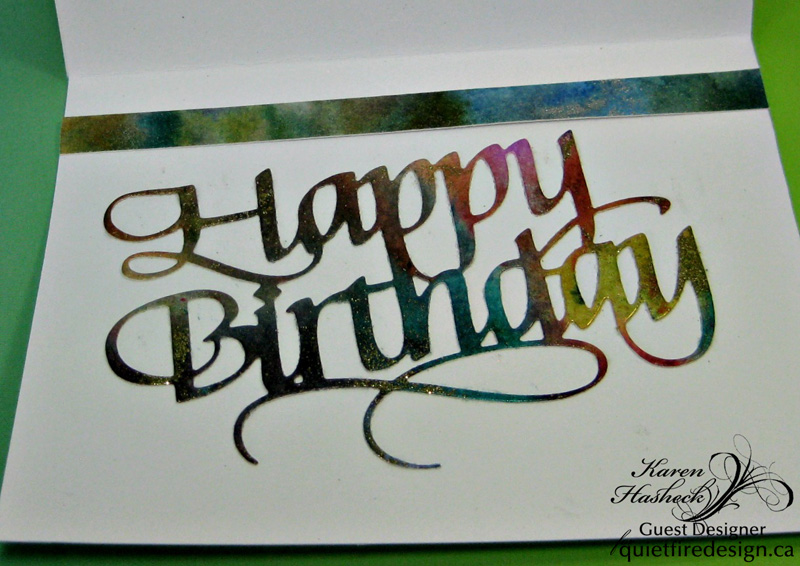
When I was
playing with my Brushos and embossing powders, I made a piece with
gold
embossing powder and different colors of Brusho Crystal Colors. I die cut the
beautiful Quietfire Design Happy Birthday die out of that piece and attached it
to the inside of the card. I also attached a strip of the Brushos and silver
piece to the top of the inside of the card because it would be shame to waste
any of those glitter and sparkles. I think any of my crafty friends would love
this sparkly birthday card and I had great fun making it for this guest dt blog
post here at Quietfire Creations.
 |
| Happy Birthday |
[You can find more of Karen's fun creations on her blog Karen's Kreative Kards ]
5 comments:
Awesome card! Thanks for sharing your process.
Recognized your style, Karen, right away! Awesome!
Awesome background and I adore the sentiment! xxx
This is fantastic! Love the shimmer!
Beautiful card and I'm so happy you were chosen to guest design. You nailed it! So much sparkle and shine it makes me smile.
Post a Comment