Hey Quietfire Fans! For today's project I'm sharing with how to create this quick and easy Don't Even Think About It Gift Tag. I combined a variety of Quietfire Design Stamps and Modern Gilding Powders which were all perfect for creating this gift tag. You'll want to grab a cup of your favourite beverage and learn how to recreate my Don't Even Think About It Gift Tag at home.
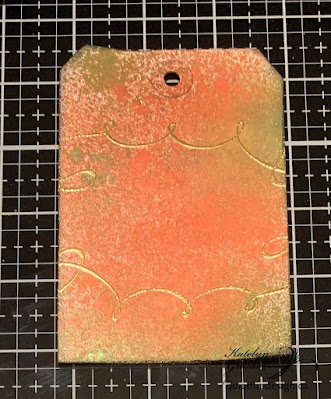
Start by trimming a tag down to 3 1/8" x 4 5/8". Spritz the tag with Tree Lot and Peppermint Stick Distress Mica Stain. Allow the tag time to dry.

Die cut a 2 1/2" stitched circle out of a piece of white cardstock. Spritz Peppermint Stick Distress Mica Stain on the circle. Once the circle has dried, apply Emboss It Ink to the Don't Even Think quote from the Christmas Sweet & Sassy Stamp Set and stamp in the middle of the circle. Sprinkle Kells Gold Modern Gilding Powders on the stamped quote. Tap off the excess powder and emboss with a heat tool. Distress the edges of the circle. Ink the edges of the circle using Black Soot Distress Ink and a blending tool with foam.

Distress the edges of the tag. Ink the edges of the tag using Black Soot Distress Ink and a blending tool with foam. From the To Appreciate the Beauty of a Snowflake stamp, you'll need the swirly stamp. Apply Emboss It Ink to the stamp and stamp on the top portion of the tag as desired. Reapply ink to the stamp and stamp on the bottom portion of the tag as desired. Sprinkle Kells Gold Modern Gilding Powders over the stamped images. Tap off the excess powder and emboss with a heat tool.
From the To Appreciate the Beauty of a Snowflake stamp, you'll need the snowflake stamp. Apply Emboss It Ink to the stamp and stamp on the top portion of the tag where the swirly image has been embossed. Reapply ink to the stamp and stamp on the bottom portion of the tag where the swirly image has been embossed. Sprinkle Forever Platinum Modern Gilding Powders over the stamped images. Tap off the excess powder and emboss with a heat tool.

From the Christmas Sweet & Sassy stamp, you'll need the snowflake stamp. Apply Emboss It Ink to the stamp and stamp randomly on the tag as desired. Reapply ink to the stamp and stamp three to four more times as desired on the tag, apply ink to the stamp as needed. Sprinkle Forever Platinum Modern Gilding Powders over the stamped images. Tap off the excess powder and emboss with a heat tool.

Foam square the circle to the middle of the tag as desired.

To finish the tag, tie a piece of twine through the top of the tag.

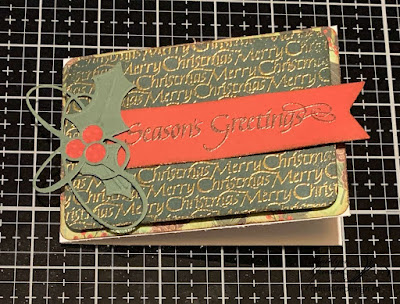
Here are a few closeups of the finished gift tag.


Here is the finished Don't Even Think About It Gift Tag.


Quietfire Design Supplies Used:
Other Supplies Used:
- Elizabeth Craft Designs: Pizza Box Die (Stitched Circle)
- Ranger Ink: Emboss It Dabber
- Tim Holtz for Ranger Ink: Distress Ink - Black Soot and Blending Tool with Foam
- Misc: White Cardstock, Tag and Twine
Thanks so much for joining me today and I hope that I have inspired you to recreate your own version of my Don't Even Think About It Gift Tag at home.
- Katelyn