Wednesday, May 3, 2017
You are my Sunshine...
Hello everyone,
Yvonne here sharing a card made with the Quietfire Design stampset "Always be my Friend" (a set of 3 stamps).
For the background I used glittered chipboard swirls which were glued upon patterned paper.
Embllsh simple using some self-adhsive rhinestones and of course the stamped (hand-cut using scissors) banner.
I hope you like the card.
Wishing you a fabulous day
and a big thanks for stopping by.
Hugs from Holland,
Yvonne
Tuesday, May 2, 2017
"Just living is not enough" fancy fold Spring card
Hello Crafty Friends!
Kathy Jo here thinking of gardens of flowers. Yes, spring has sprung here in Nova Scotia and I am loving it! The grass is green, tulips will soon be in bloom and all the garden perennials are happily starting to pop up through the soil. The world has awoken and I am taking it all in!
Working in my gardens this weekend made me think of a wonderful stamp from Quietfire Design, Just living is not enough:

The stamp is like a breath of fresh air and I cannot help but smile when I read it.
The stamp was applied using Jet Black Archival Ink on Graphic 45's Secret Garden's paper. The paper was fussy cut, mounted onto the card base and Stickles was applied to flower centers and all of the leaves.
Such a lovely stamp! It would look great on a Garden Journal cover or on a summer scrapbook page.
Suzanne amazes me with her gorgeous calligraphy- whether on stamps, dies or stencils. Her work is always inspiring!
Love this stamp? Lucky you: this stamp and other Garden/Nature stamps are on sale right now!
Woo-who! Click here to see the sale stamps. :)
Thanks for stopping by! Have a happy, crafty day.
Big Hugs,
Monday, May 1, 2017
Always Believe That Something Wonderful is About to Happen
Hello and Happy May Day!!! It's Wanda with you today. It's been very wet and chilly here in Southern Iowa and I'm ready for the warm weather to come back.
I recently bought a Royal Sovereign Laminator (Model CL-1223) and have been testing it out with foil. Very fun!!!! For this card I wanted to try using Transparent Embossing Paste. Onto a piece of Mixed Media Paper (Ranger), I put the paste through the Butterfly Kaleidoscope stencil scraping it mostly flat, removed the stencil (clean your stencil before the paste dries), let the paste completely dry on the paper, put a piece of foil over the paper (Therm-O-Web iCraft deco foil, Emerald Watercolor), placed the paper with the foil on top inside a folded piece of parchment paper, ran it through the heated up laminator, pulled the piece of foil off and, ta-da!!, gorgeous foiled, dimensional butterflies!!!
I added background color to the piece with Distress products. I sprayed some water on the paper first, then sprayed Distress Spray Stain Picked Raspberry just in the center of the paper (but, of course, you get speckles toward the edges of the paper), blotted with a paper towel and dried it. Around the edges I inked with Distress Ink Mustard Seed and Squeezed Lemonade and then also distressed the edges. When I was putting the card together I decided to add a bit more to the background and did some random stamping with the Crackle Background using Distress Ink Mustard Seed.
For my center piece I also started with Mixed Media Cardstock (Ranger), inked the Crackled Background with Distress Oxide Ink Cracked Pistachio, gave it a very light spray with water and then stamped it onto the paper, dried it, stamped the quote (Always Believe) with Archival Ink Jet Black, sprayed the paper with Distress Spray Stain Squeezed Lemonade, blotted it, dried it, dripped on some water, blotted it, dried it, cut it out with a Stitched Circled die (Elizabeth Craft Designs), and inked the edges with Distress Ink Mowed Lawn.
The "flowers" are Elizabeth Craft Designs ModaScrap Dandelion Fluff diecut from colored cardstock, inked with Embossing Ink (Ranger), embossed with clear powder, and white dots added to the ends with a Posca Paint Marker. The butterfly is metal (Finnabair Mechanical Grungy Butterflies, Prima). I used my finger to dab on some Ranger Ink Enamel Accents (a mix of Classic Cherry and Wild Orchid). I've also used a paper doily and some twine on the card.
I hope you've enjoyed this card. If you have any questions, don't hesitate to ask.
Thanks for following along!!!!
Hugs, Wanda
Thursday, April 27, 2017
Watercolour Doily Card with You May Not be Able to Leave Your Children
Hello, Connie Nichol here today with a quick card featuring the Quietfire Design stamp 'You may not be able to leave your children'. Such a beautiful quote, and so very true. I was messing around with paper doilies and altering them with different colouring media when I discovered they can make a very quick and pretty card background.
I just used paper doilies from the dollar store and inexpensive watercolour paint. Just dab a few colours of paint onto the doily and let dry. It gives such a pretty delicate look, especially if you use lots of water and not too much paint. Reds and pinks and purples work well together, or yellows and oranges, or greens and blue.
Stamp the quote onto a piece of white cardstock and cut out with an Elizabeth Crafts Designs stitched circle die. They are the perfect size to fit in the middle of the doily.
To make the card base, I cut a folded circle just slightly smaller than the doily. Just fold a piece of white cardstock in half, trace a circle (I used a container lid of an appropriate size) so that one edge of the circle is on the fold. Adhere your doily and add a ribbon bow. Done! Thanks for dropping by, Connie
Tuesday, April 25, 2017
Friends
A faithful friend is definitely a treasure! This is Selma Stevenson today. I love this beautiful sentiment combined with the A Way With Words - Friends die cut. I have designed a 6 inch card. A piece of design paper was cut 5 1/2 inches square and attached to a white card.
Use the A Way With Words Friends die to die cut one yellow 'Friends'.
Use the Always Be My Friend stamp set and stamp 'Those who find a faithful friend have found a treasure' onto white card stock using black VersaFine Ink. Die cut the stamped sentiment using a Dotted Scallop die.
Use rectangle dies to create a frame. I used the Stitched Rectangles, Dotted Scallop Rectangles and Postage Stamp Rectangle die sets. Attach the stamped sentiment square on the right side of this rectangle frame.
I wanted to duplicate the flowers, in the design paper, to go beside the sentiment. I used Susan's Garden Notes Poppy die set, Garden Notes Lilac die set for the blue flowers ,and Joset Designs Behive die set for the yellow flowers. The leaves were die cut using the ModaScrape Leafy Branch 2 and Leafy Branch 6 die sets. These dies are from Elizabeth Craft Designs.
Links to Products from Quietfire Designs:
Monday, April 24, 2017
You Are
Hello, Diana here with a question for you! So have you ever bought a stamp set and used every single stamp in that set? I actually have a hard time doing that - there's always that one stamp in the set that I must have and others I find I love to use but as much as I hate to admit it, there's usually a stamp in a set that never gets inked. However, I am happy to say that is not the case with this stamp set You are from Quietfire Design.
I lined up all of the 4 descriptives and embossed in clear on white card stock. I then used my blue and green Distress Inks and sponged over two third of the card stock to make the lettering pop. The top third is gold embossed with flowers from Elizabeth Craft Designs Flower Power. I then embossed in white on black card stock the "You Are" and popped it up above the background.
And voila! I used every stamp from the set! And I let the recipient know in no uncertain terms just what I think of them. :)
You are (set of 5) mounted stamp set
Friday, April 21, 2017
Just in time for Mother's day
Hi everyone it's Teresa here today to share a quick Mother's Day card that you can whip up with just a few simple papers and one of my favorite stamps called "Mother's Hold their children's hands". This is such a beautiful saying and would be perfect to give to a special mom or grandmother too.
To make this card i used a watercolor paper that i got from Micheal's that had tiny gold flecks in it for my background. I matted it with a matching pink cardstock and then a shiny ivory cardstock for my card base. Over that i glued two strips of pink and gold ribbon to the base and then i cut out a gold filigree die from Becca Feeken. This gave the perfect trim to go under my stamped image.
I thought that gold embossing would really set it off so i stamped it in black Versafine ink and embossed it with gold powder. It came out really thin and clear and really made all the gold in the ribbon and backgrounds pop. I hope that you like it.
Supply List:
Black Versafine ink
Gold embossing powder
clear stamp block
Ivory, pink and gold cardstock
Pink and gold watercolor paper
yellow gold rhinestones
Scrapbook Adhesives by 3L 3D foam squares, tape runner
Thank you for stopping by... and have a wonderful crafty weekend.
Thursday, April 20, 2017
Happy Birthday!
Hello everyone,
Yvonne here with a new card using a gorgeous Quietfire Design stamp.
With this month's theme being "friendship", one cannot forget making a special card your best friend's birthday :-)
For my card I used the Quietfire Design stampset Happy Birthday Plain and Simple (set of 7 stamps).
Hope you like the card!
Hugs from Holland,
Yvonne
Tuesday, April 18, 2017
"You are so loved" shabby card
Hello Crafty Friends!
Kathy Jo here sharing a card using Quietfire Design's new stamp set, You are:
The lovely, versatile stamp set is perfect for cards, scrapbook pages and mixed media art.
The base of the card was created using Spellbinders die designed by Becca Feeken (Regal Allure).
The back side of the card had the flourishes removed. The blue cardstock base had white paint applied along all edges for a shabby look.
Have a happy, crafty day!
Big Hugs,
Kathy Jo
Kathy Jo here sharing a card using Quietfire Design's new stamp set, You are:
The lovely, versatile stamp set is perfect for cards, scrapbook pages and mixed media art.
The base of the card was created using Spellbinders die designed by Becca Feeken (Regal Allure).
The back side of the card had the flourishes removed. The blue cardstock base had white paint applied along all edges for a shabby look.
A triple crinkle ribbon was added to the front for a sweet finish.
Thank you so much for stopping by! I do hope you enjoyed the card.Have a happy, crafty day!
Big Hugs,
Kathy Jo
Thursday, April 13, 2017
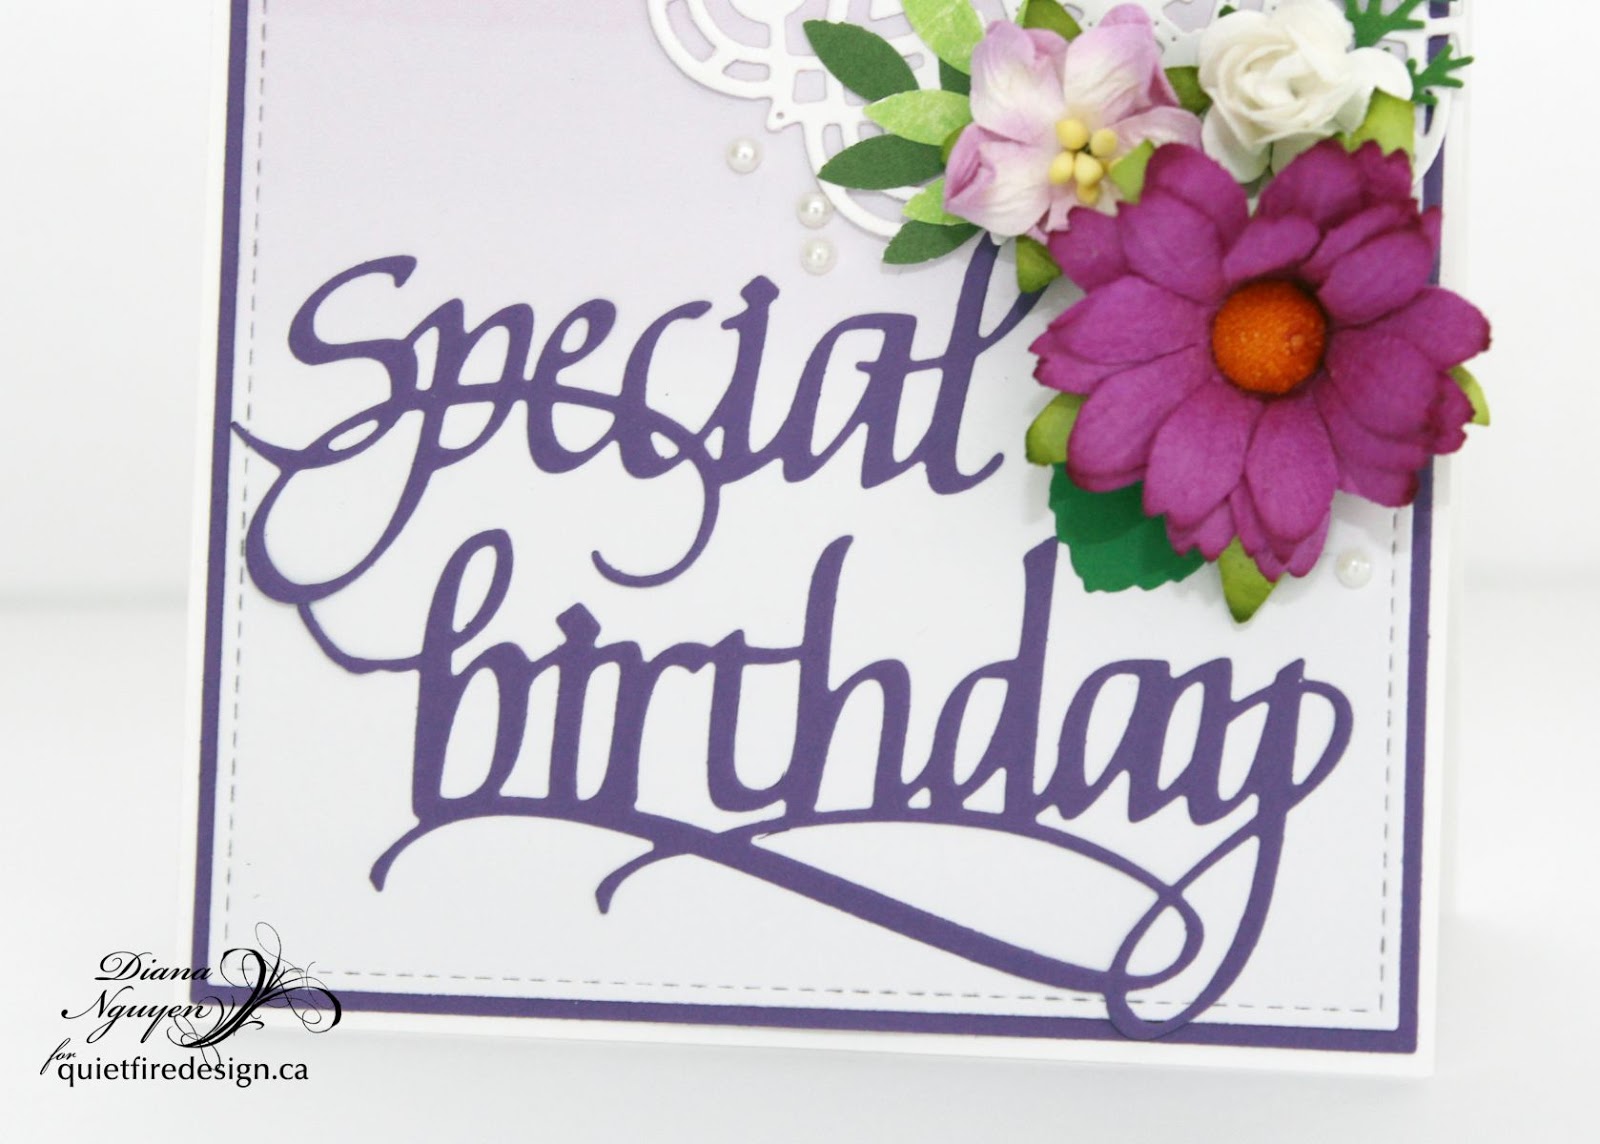
Special birthday
I have a niece who is turning 21 this month so I made this special card for her. The message is made by combining two different Quietfire Design die sets: Special Moments and happy birthday 2. The "21" is from Lawn Fawn but the "st" is surgically cut the Christmas die cut! I didn't want to mix too many "fonts" on the card. The 21st is anchored on a doily and a cluster of Wild Orchid Flowers complete the card.
Purple is hard to photograph but it's one of my favorite colors to work with.
Subscribe to:
Posts (Atom)