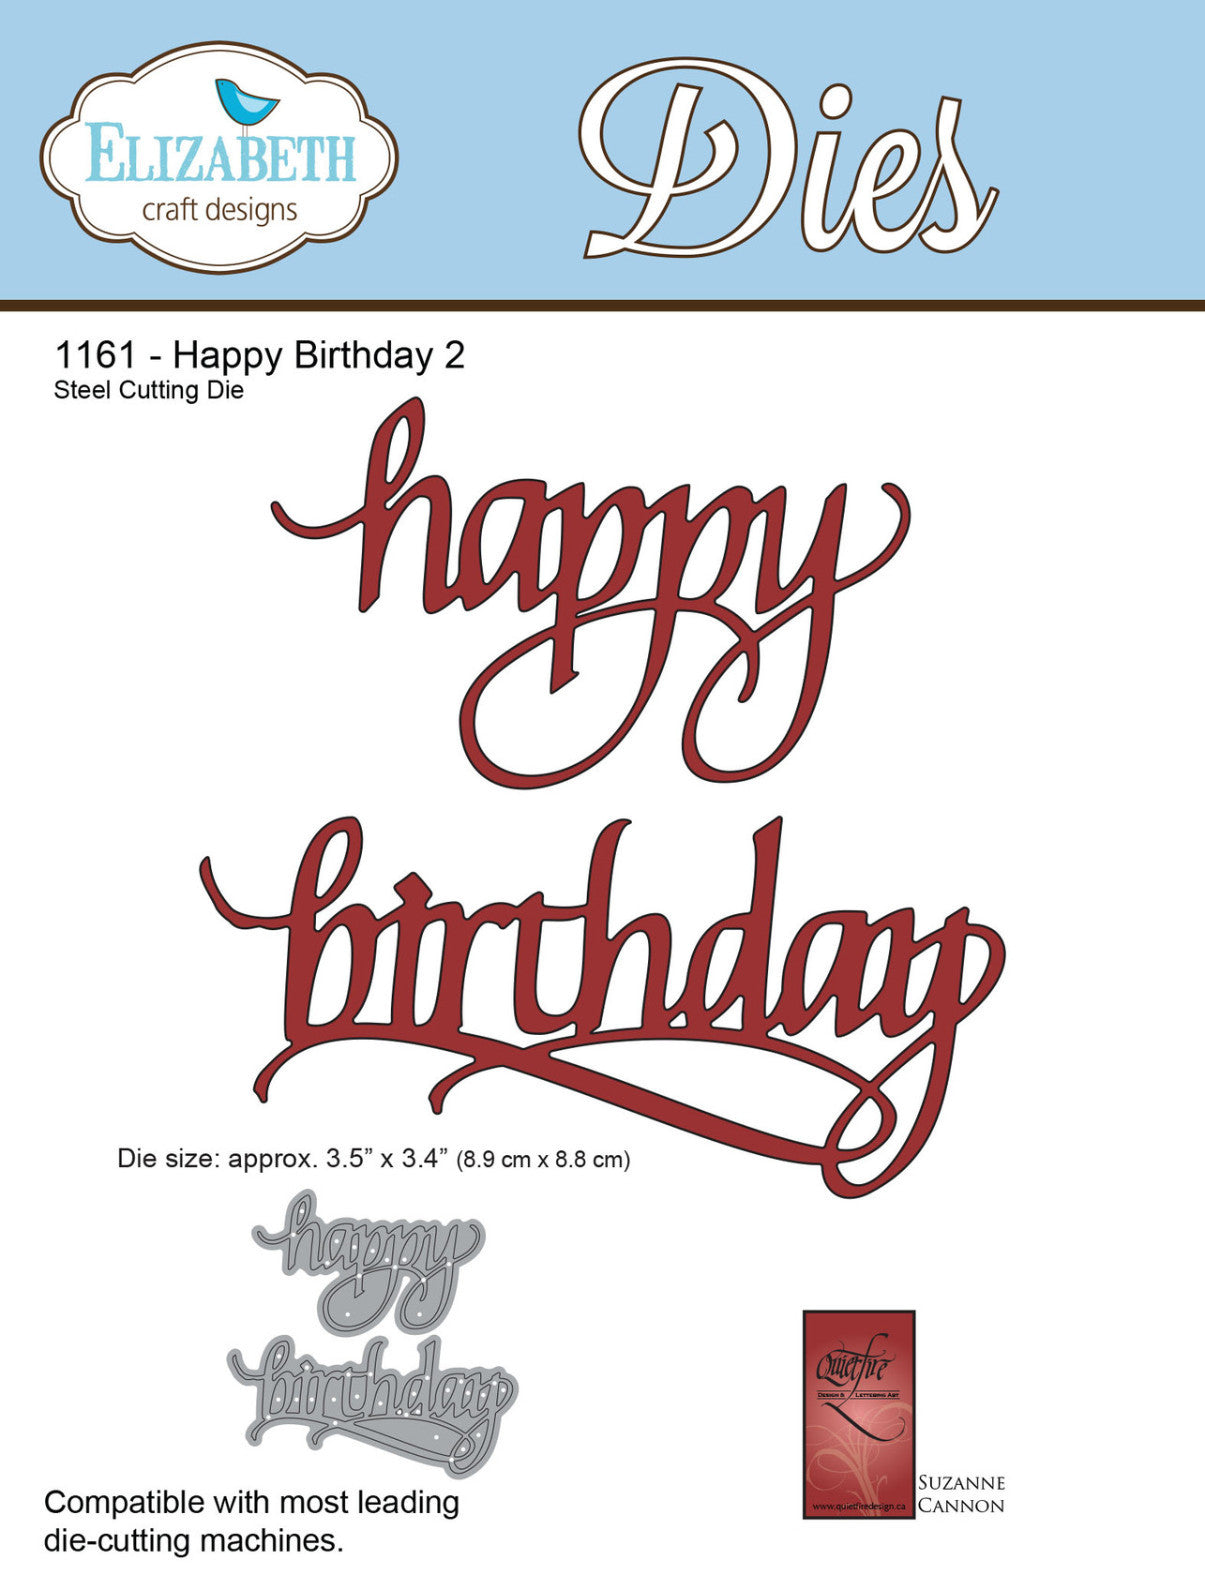
My first project using the die set was a birthday gift card holder for my brother in law. I don't know about you all, but sometimes I can find masculine cards a little difficult. Luckily the new happy birthday die set is perfect for masculine or feminine cards. Below are the steps to make the gift card holder:
- Cut double sided patterned paper to 4 x 12". Score at 4" and 8". Cut last square at a diagonal and fold in as shown. Apply adhesive tape to bottom edge only. Cut white card stock to 3.5" x 3.5" and adhere to left side.
- Cut white card stock and Kraft card stock. Using Tim Holtz stencil (Speckles), apply Ranger Ink texture paste on the Kraft card stock. Remove stencil and apply Distress Glitter in Clear Rock Candy. Air dry.
- Using the thick patterned card stock from the stencil packaging (yes, you read that correctly- the grungy paper packaging behind the stencil), die cut with "happy birthday". The dies cut through the packaging easily. (Not only does grungy background match the masculine card, using the packaging is a great way to reduce, reuse and recycle!)
- Assemble card front and add four gems.
Thanks for stopping by! I do hope you enjoyed the sneak peek and the card!
Big Crafty Hugs,
Kathy Jo


7 comments:
Love this creation with cute die cut sentiment, so big and bold!
nice. have a great day
like this very much,good for masculine cards....and well it dances.
Beautiful work. Love the beautiful calligraphy design of this die. The card is so fun.
Great ideas.....TFS
Beautiful!!!
PErfect!
Post a Comment